Many people, including me and some of our customers have had problems getting track-logs off of their GPS Loggers, because most manufacturers only provide Windows software for their devices, and usually not even that is very useable. This was one of the reasons why I created our Unleashed in the first place: To get rid of the struggle with bad/non-existant software, and geotag images directly in camera. Many years later, nothing has changed. Still no Mac-support from most GPS Manufacturers, and very little Information on the topic to be found on the Internet.
We bundle Holux Bluetooth GPS-receivers with our Unleashed, the M-1000C or the M-1200E. These are great little devices, especially together with our products – the combination allows wireless direct geotagging via Bluetooth®, but will store a track with up to 200,000 waypoints as well. That way, if you want, you can get a track of an entire hike/journey, as well as the already geotagged images you took on that trip.
But you need to get the data off the Holux first, and that has been a problem for most Mac users.
So, I’ve put together step-by-step instructions of how to get it to work:
- Download the free software BT747 at sourceforge.net/projects/bt747. On their home-page they also offer a „Desktop Version“ webinstall, but that has not always worked for me, whereas the zip file has worked every time.
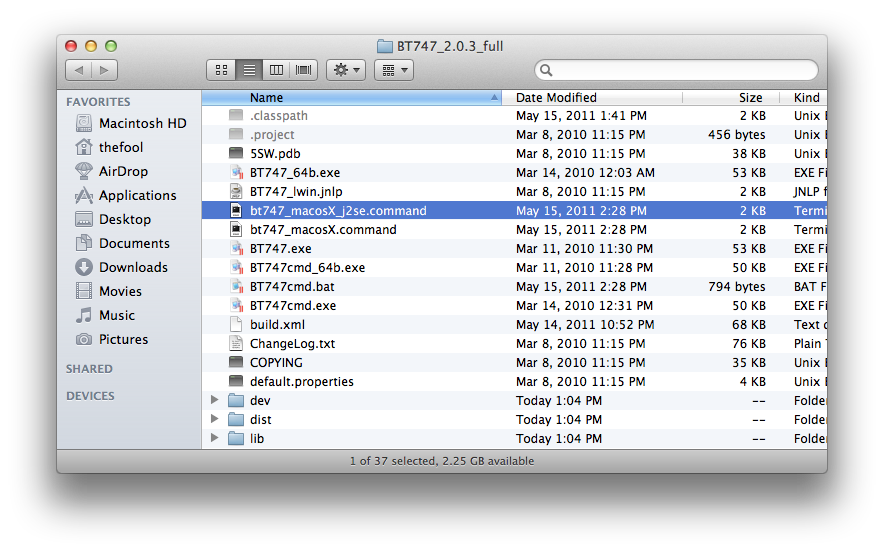
- Move the entire folder to your Applications folder, and inside, start the file „bt747_macosX_j2se.command“, to launch the application.
- Plug in your Holux M-1000C or M-1200E. Luckily, Mac OS X already comes with the drivers you need. On Snow Leopard (10.6) or older Mac OS X versions, you might get a window prompting you to configure your new network device:
Just click „Configure“, then „Apply“ and close the window (you can click on Cancel, but the window will pop up every time you plug in your GPS).
- In the menu (not in the typical Mac OS X menubar, but rather along the top of the window, typical for Windows applications), click on File -> Populate Serial Port Menu.
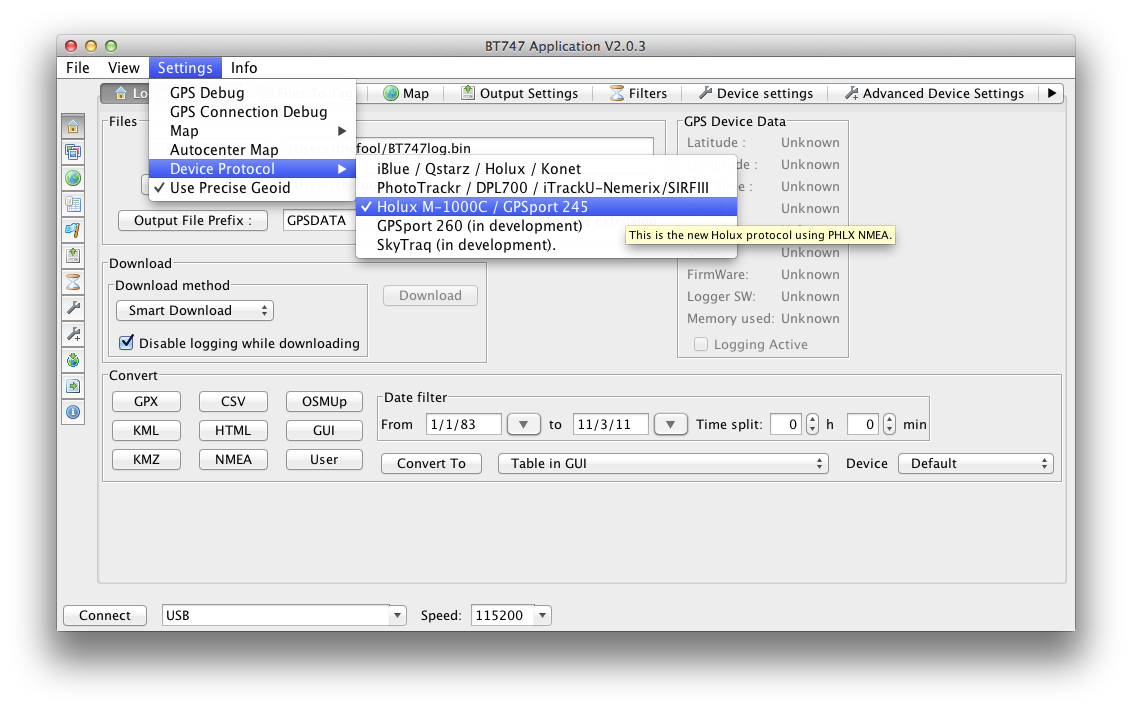
- Also in the Menu, click Settings -> Device Protocol -> Holux M-1000C / GPSport 245
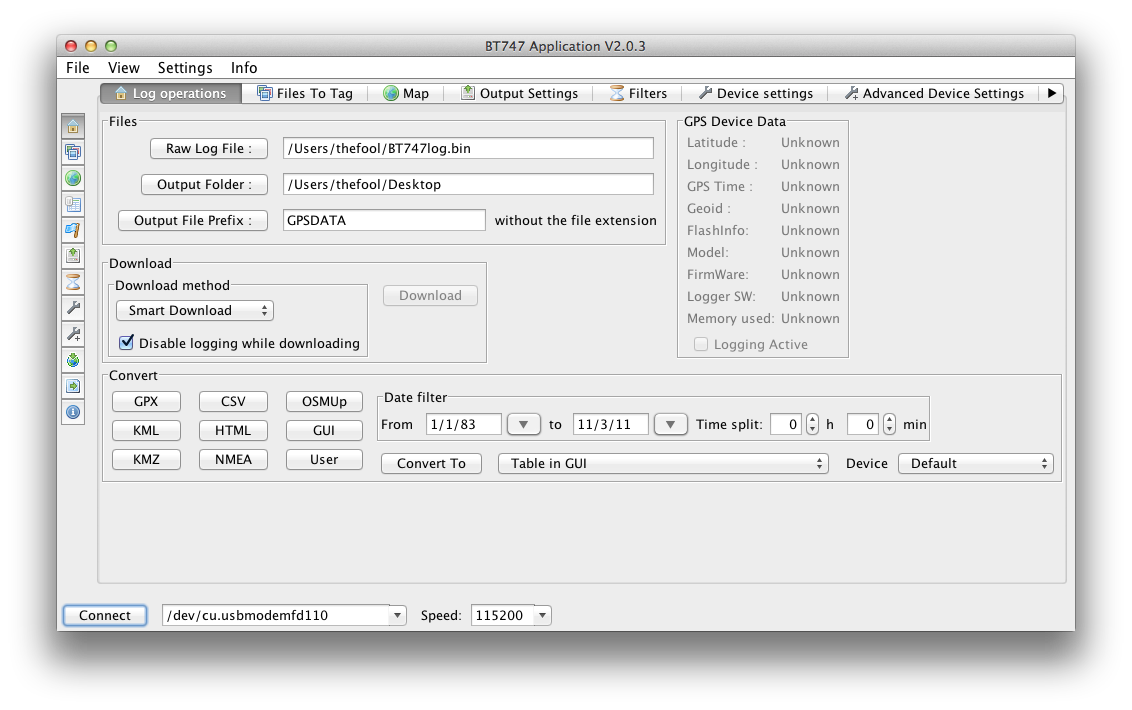
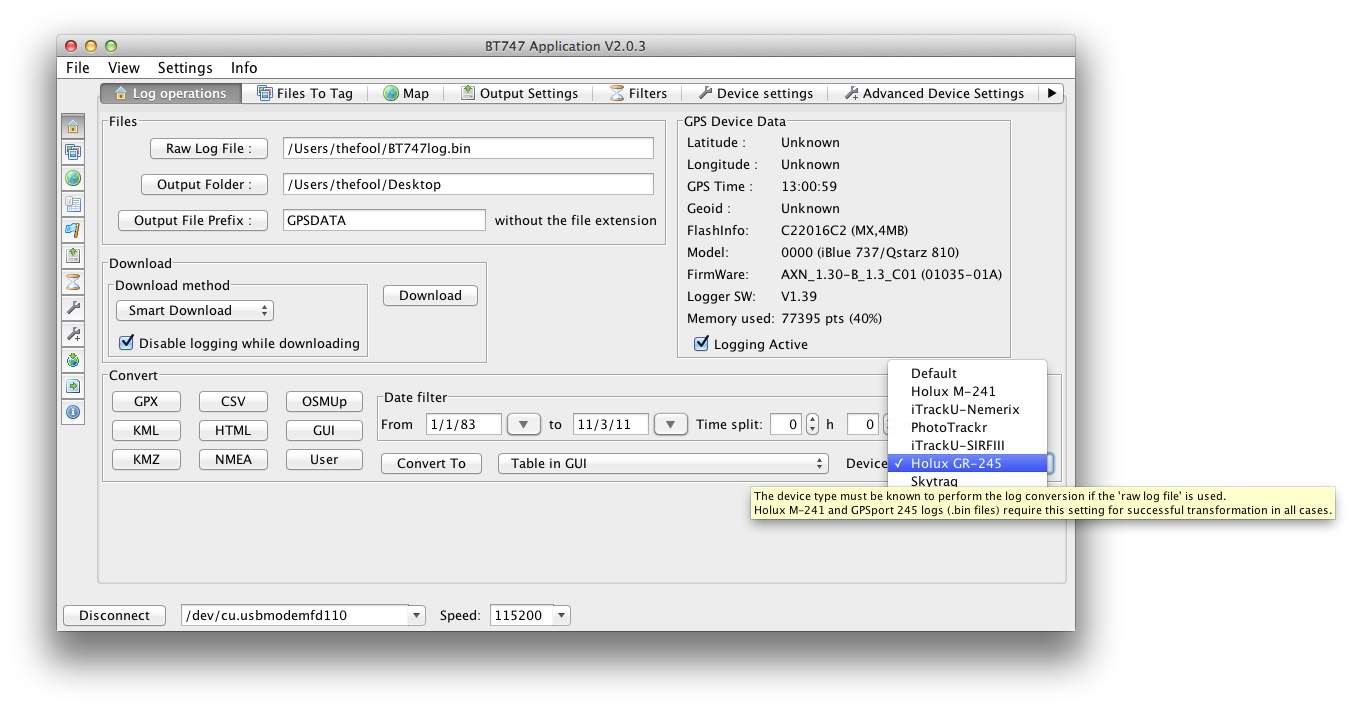
- At the bottom of the window (next to the Connect button, where it says „USB“), choose your serial Port, which should be just below all the COMx Ports, called /dev/cu.usbmodem1d10 or something very similar.
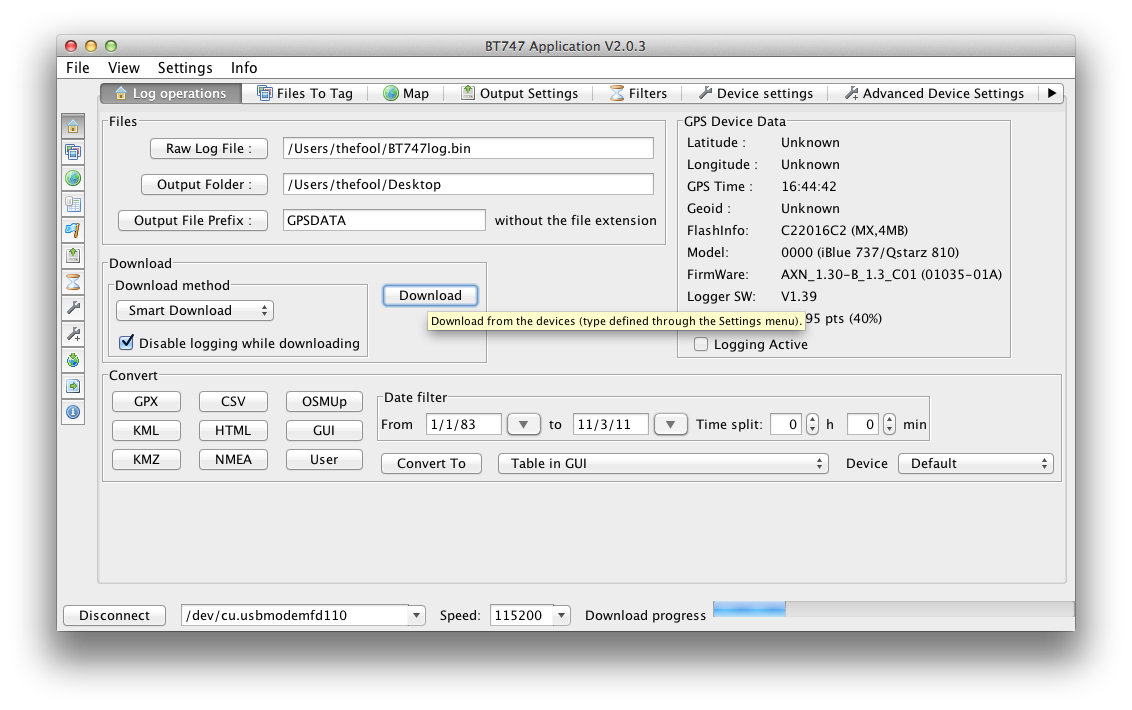
- Press the „Connect“ button. The „GPS Device Data“ in the top right part of the window should then fill up with information.
- In the „Files“ section at the top left part of the window, choose your output folder, where the log files will be saved.
- Download the track data from the Logger, by pressing the „Download“ button. This will get the Raw Log File.
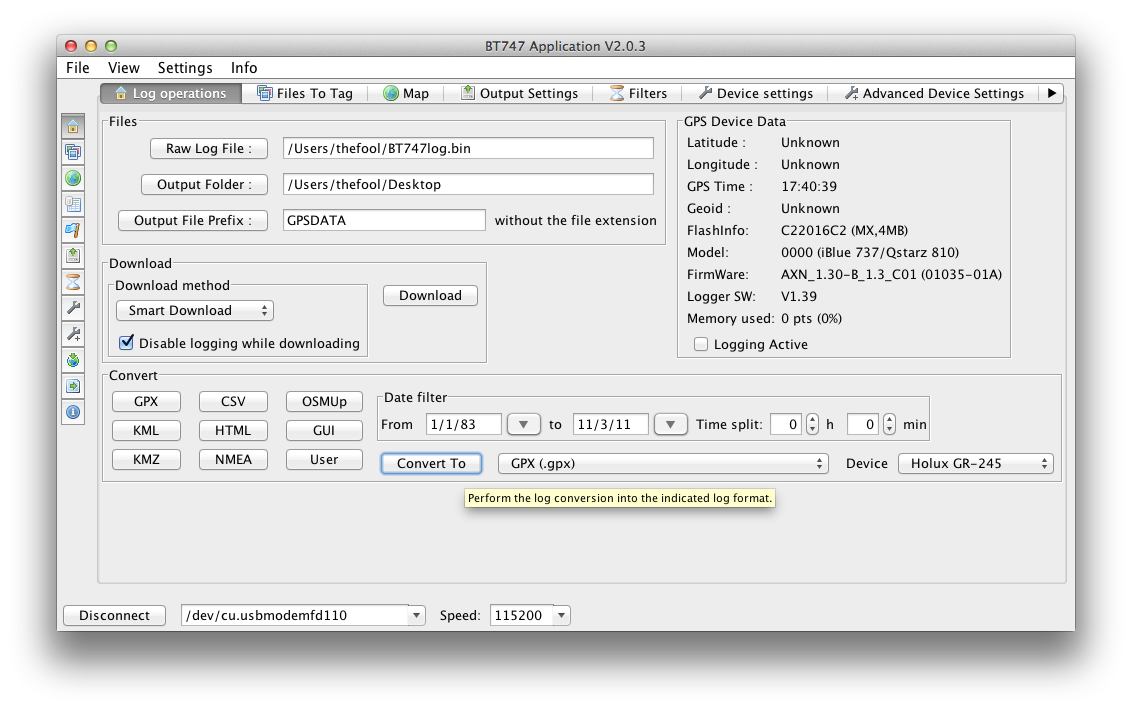
- To get a useful file format, in the „Convert“ Section at the bottom of the window, at the very right, choose the Device type „Holux GR-245“. This is very important!
- Then choose the log format to convert to (GPX is probably the most widely accepted type – Aperture 3 can import GPX files).
- Press the „Convert to“ button.
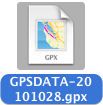
- You should now have a new file in the output folder you chose, and can import that into whichever software you want to use.
- A few possibilities are
Feel free to add your comments below!
