One of the Unleashed’s greatest features is timelapse. In this article we want to introduce the concept of timelapses and how to create a timelapse with the Unleashed. Let us try to define the word timelapse in a few sentences:
“A timelapse is a sequence of photos taken over time. The photos are mostly taken at a certain frequency with a set interval time in between each photo. In the final result, the photo sequence is shown at a normal video frame rate (24-30 fps: frames per second), so time seems to move faster than usual, thus the word time lapse.”

Of course, you can also film something and then speed up the scene in post to have a similar effect. However, when creating a timelapse by taking interval shots, you have the freedom to choose the final frames per second rate. Additionally, you have every frame as a high quality photo so you can even create 8k time-lapse videos. And probably one of the biggest advantages – you don’t have to shoot an actual multi-hour long video with your camera.
To shoot a timelapse you can either take a photo every couple of seconds by hand (which we don’t recommend ;) ) or use an intervalometer. An intervalometer is basically a programmable camera trigger that takes the photos for you. There are different solutions out there serving this purpose, starting at under 100 EUR up to a couple of hundred Euros/Dollars. In the end, it depends on what you want to achieve.
With the intervalometer you can set the interval (after how many seconds the next photo should be taken) and how long you want to be shooting. As an example:
You want to take a timelapse of clouds passing by a mountain top. So you set up your camera with the intervalometer on a tripod and take a photo every 10 seconds for the next 3 hours. At the end you will have around 1080 photos. Combined in a video with a frame rate of 30 frames per seconds, you will have a video clip length of 36 seconds (1080/30 = 36). As you can see, there’s a little bit of math involved if you have a certain idea of how long the clip should be at the end.
Creating time lapses with the Unleashed
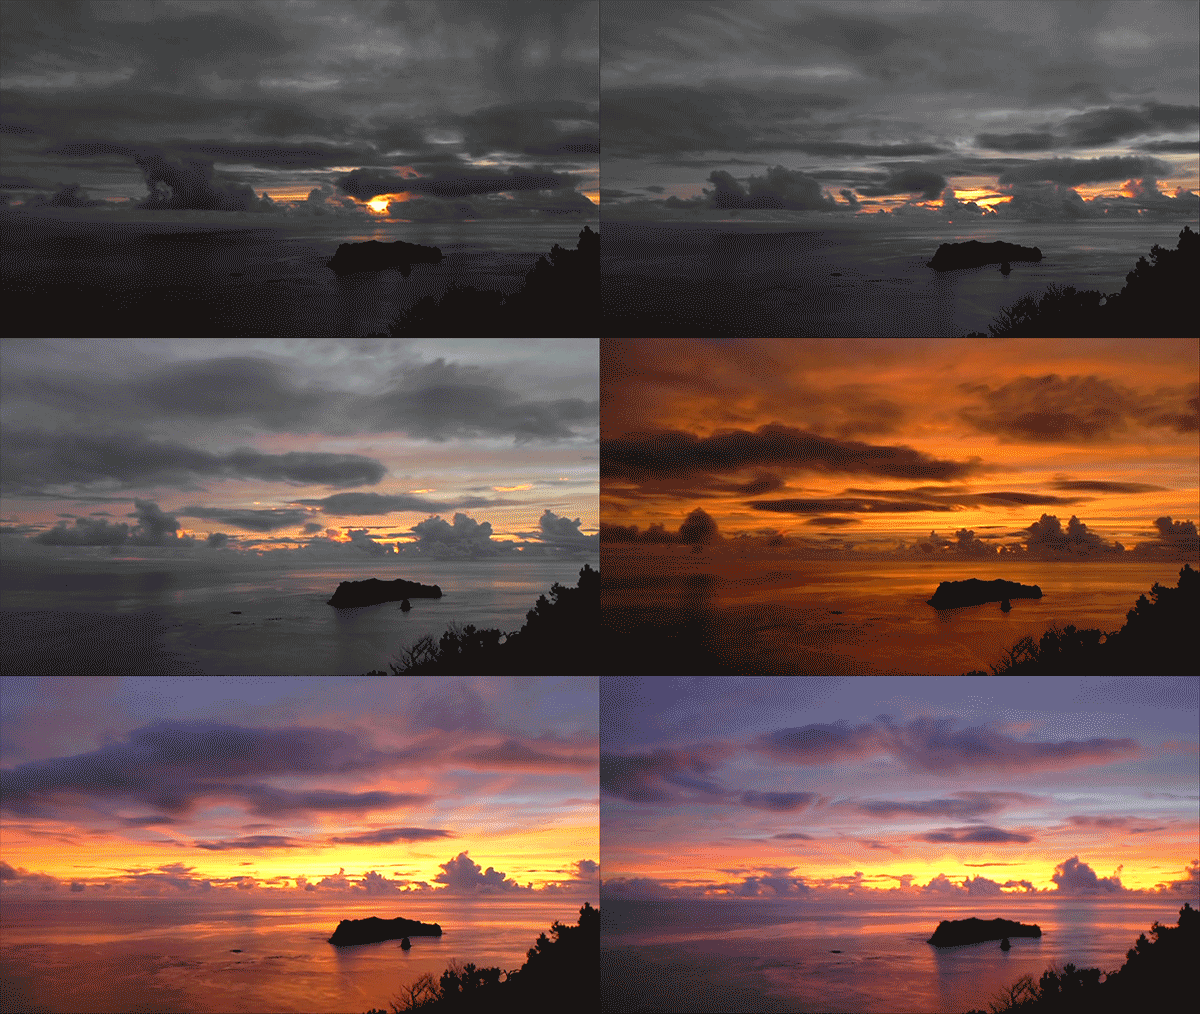
We think timelapses are fantastic things to capture and can add great value to your b-roll and videos. So we’re especially proud of the well-designed timelapse feature in the Unleashed. Apart from automatically showing you the expected clip length and amount of photos you will take (especially useful to see if your SD card still has enough space), the Unleashed app also gives you the option to do auto-ramped timelapses to capture day-to-night or night-to-day transitions where the camera settings change over time. This means you don’t have to manually adjust the exposure to match the changing light conditions. Check out our support video on the Holy Grail timelapse feature.
If you want to start with a simple timelapse, you can also check our FAQ and video on that feature. Nevertheless, we’d like to give a brief overview here, as well.
How-to
- When you open the app it is set to Photo mode. Click the 3 yellow lines in the bottom left corner to get to the menu and select Timelapse.
- The top area of the screen shows a summary of the camera’s current settings. You can change those settings by tapping on that area to see the detailed camera settings.
- In the center area you can set the interval i.e. in what frequency a photo should be taken, and the duration i.e. for how long the camera should take photos.
- Below that, the app calculates how many photos will be taken and what the expected clip length will be at 30 frames per second.
- In the top right corner of the screen, the app shows tips, warnings and errors. While you’ll be able to start a timelapse with tips and warnings, errors will grey out the start button. For example, the app will warn you when your SD card doesn’t have enough space for all the photos to be taken during the timelapse.
- To start, just tap the button at the bottom center. Once it’s started, the smartphone does not need to remain connected or in range for the Unleashed to finish the timelapse.
Once all photos are captured, you can either directly import them into a video editing software to create the video, give them a quick brush in lightroom, or get the most out of the timelapse by using a software like LRTimelapse to smooth the pictures transitions perfectly.
Feel free to share this blog post or comment below if you’ve found it helpful. Stay tuned as we’re going to give you more professional insights on timelapses with the help of one of our brand ambassadors and expert timelapse photographer.