One of the Unleashed’s greatest features is timelapse. In this article we want to introduce the concept of timelapses and how to create a timelapse with the Unleashed. Let us try to define the word timelapse in a few sentences:
“A timelapse is a sequence of photos taken over time. The photos are mostly taken at a certain frequency with a set interval time in between each photo. In the final result, the photo sequence is shown at a normal video frame rate (24-30 fps: frames per second), so time seems to move faster than usual, thus the word time lapse.”
Of course, you can also film something and then speed up the scene in post to have a similar effect. However, when creating a timelapse by taking interval shots, you have the freedom to choose the final frames per second rate. Additionally, you have every frame as a high quality photo so you can even create 8k time-lapse videos. And probably one of the biggest advantages – you don’t have to shoot an actual multi-hour long video with your camera.
To shoot a timelapse you can either take a photo every couple of seconds by hand (which we don’t recommend ;) ) or use an intervalometer. An intervalometer is basically a programmable camera trigger that takes the photos for you. There are different solutions out there serving this purpose, starting at under 100 EUR up to a couple of hundred Euros/Dollars. In the end, it depends on what you want to achieve.
With the intervalometer you can set the interval (after how many seconds the next photo should be taken) and how long you want to be shooting. As an example:
You want to take a timelapse of clouds passing by a mountain top. So you set up your camera with the intervalometer on a tripod and take a photo every 10 seconds for the next 3 hours. At the end you will have around 1080 photos. Combined in a video with a frame rate of 30 frames per seconds, you will have a video clip length of 36 seconds (1080/30 = 36). As you can see, there’s a little bit of math involved if you have a certain idea of how long the clip should be at the end.
Creating time lapses with the Unleashed
We think timelapses are fantastic things to capture and can add great value to your b-roll and videos. So we’re especially proud of the well-designed timelapse feature in the Unleashed. Apart from automatically showing you the expected clip length and amount of photos you will take (especially useful to see if your SD card still has enough space), the Unleashed app also gives you the option to do auto-ramped timelapses to capture day-to-night or night-to-day transitions where the camera settings change over time. This means you don’t have to manually adjust the exposure to match the changing light conditions. Check out our support video on the Holy Grail timelapse feature.
If you want to start with a simple timelapse, you can also check our FAQ and video on that feature. Nevertheless, we’d like to give a brief overview here, as well.
How-to
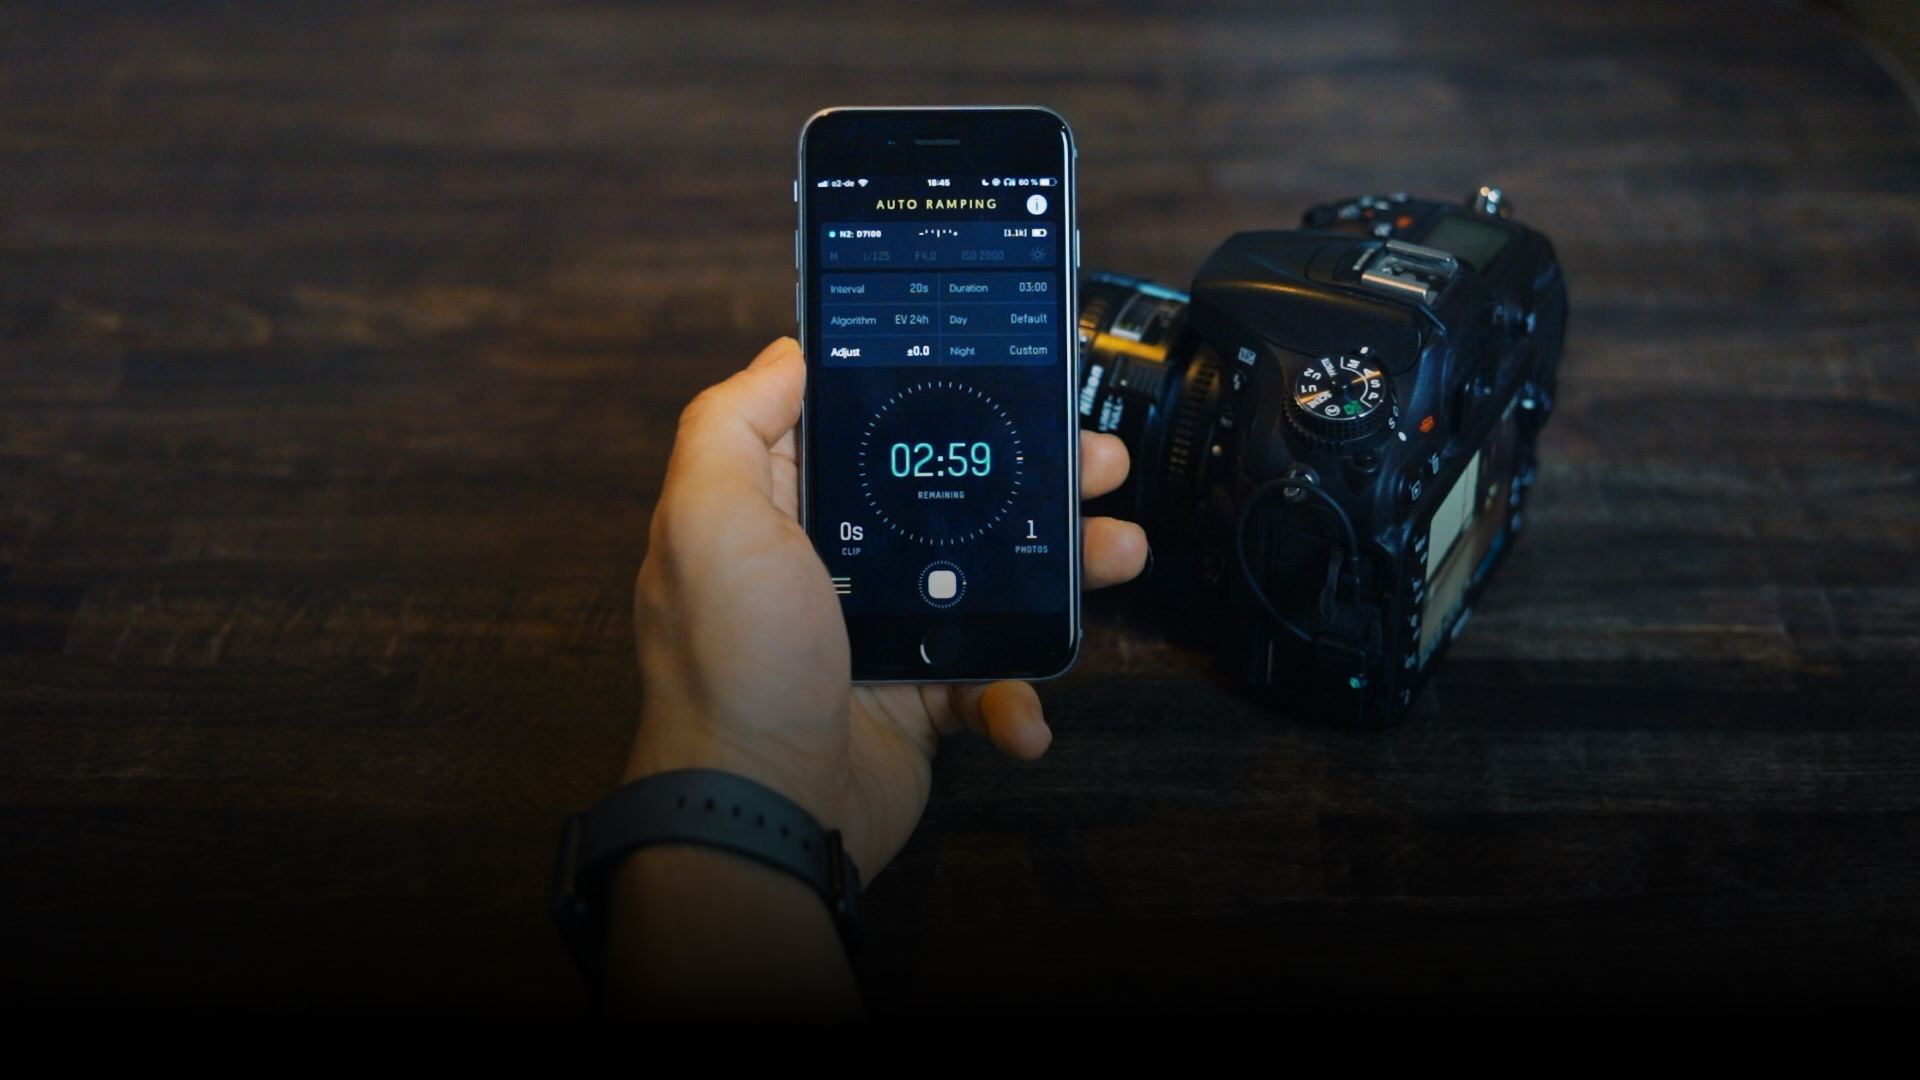
When you open the app it is set to Photo mode. Click the 3 yellow lines in the bottom left corner to get to the menu and select Timelapse.
The top area of the screen shows a summary of the camera’s current settings. You can change those settings by tapping on that area to see the detailed camera settings.
In the center area you can set the interval i.e. in what frequency a photo should be taken, and the duration i.e. for how long the camera should take photos.
Below that, the app calculates how many photos will be taken and what the expected clip length will be at 30 frames per second.
In the top right corner of the screen, the app shows tips, warnings and errors. While you’ll be able to start a timelapse with tips and warnings, errors will grey out the start button. For example, the app will warn you when your SD card doesn’t have enough space for all the photos to be taken during the timelapse.
To start, just tap the button at the bottom center. Once it’s started, the smartphone does not need to remain connected or in range for the Unleashed to finish the timelapse.
Once all photos are captured, you can either directly import them into a video editing software to create the video, give them a quick brush in lightroom, or get the most out of the timelapse by using a software like LRTimelapse to smooth the pictures transitions perfectly.
Feel free to share this blog post or comment below if you’ve found it helpful. Stay tuned as we’re going to give you more professional insights on timelapses with the help of one of our brand ambassadors and expert timelapse photographer.
As photographers, being stuck at home can feel very limiting – but it shouldn’t mean that you can’t take any photos at all! If you usually shoot events or are limited in your options for nature photography, try something new at home. Use the equipment you have and put it to use for a different purpose than usual. Try food or product photography, pet portraits or document a new hobby you might be learning at the moment. In this article we’d like to give you some inspiration to keep busy and creative with your camera while staying home!
1. Combine learning a new hobby with photography
It seems like everyone is starting a new hobby recently to make all the time spent at home more fulfilling. Since many of us no longer commute to an office, there are a few hours more per week to devote to learning a new skill: be it a new form of exercise, a manual skill like sewing, woodwork or gardening, (re-)learning an instrument or arts. If you feel like you have nothing to photograph since you can’t go places, try documenting your learning journey. This will not only give you new subjects to shoot, but it’s also satisfying to visualize your progress this way. Here are some examples:
Learning to cook or bake creates great opportunities for food photography – going way further than the occasional phone shot at the restaurant! Try recording the entire process of making the dish to the final result.
Creating something with your own hands can be so satisfying… and the photo opportunities a new manual skill or a form of art can give you are unlimited! You could even get into product photography if you want to sell some of your creations.
Take photos every week to document your improvements in any form of exercise you are practicing. This works especially well for things like flexibility training or learning a certain yoga pose.
2. Learn from constraints
Since most of us are stuck at home, unable to travel to photogenic locations or do photo-shoots with people, it’s easy to feel like you have nothing to take pictures of. Normally you would have a stunning landscape or a model as an inherently interesting subject. Creating visual interest in your own home will definitely be harder, but honing the skill of perception can make your future shoots a lot easier.
For the challenge: choose one room of your home that you will take all pictures in. Take a close look around you to identify possible subjects. Then try to take as many creative pictures of the environment, working with different perspectives, lighting, negative space, and composition. You can also spread this over the day and notice how the natural lighting conditions change the look and atmosphere of your pictures. Limiting yourself like this can really push your creative boundaries since you have to work with what you’ve got and sharpen your eye for interesting compositions.
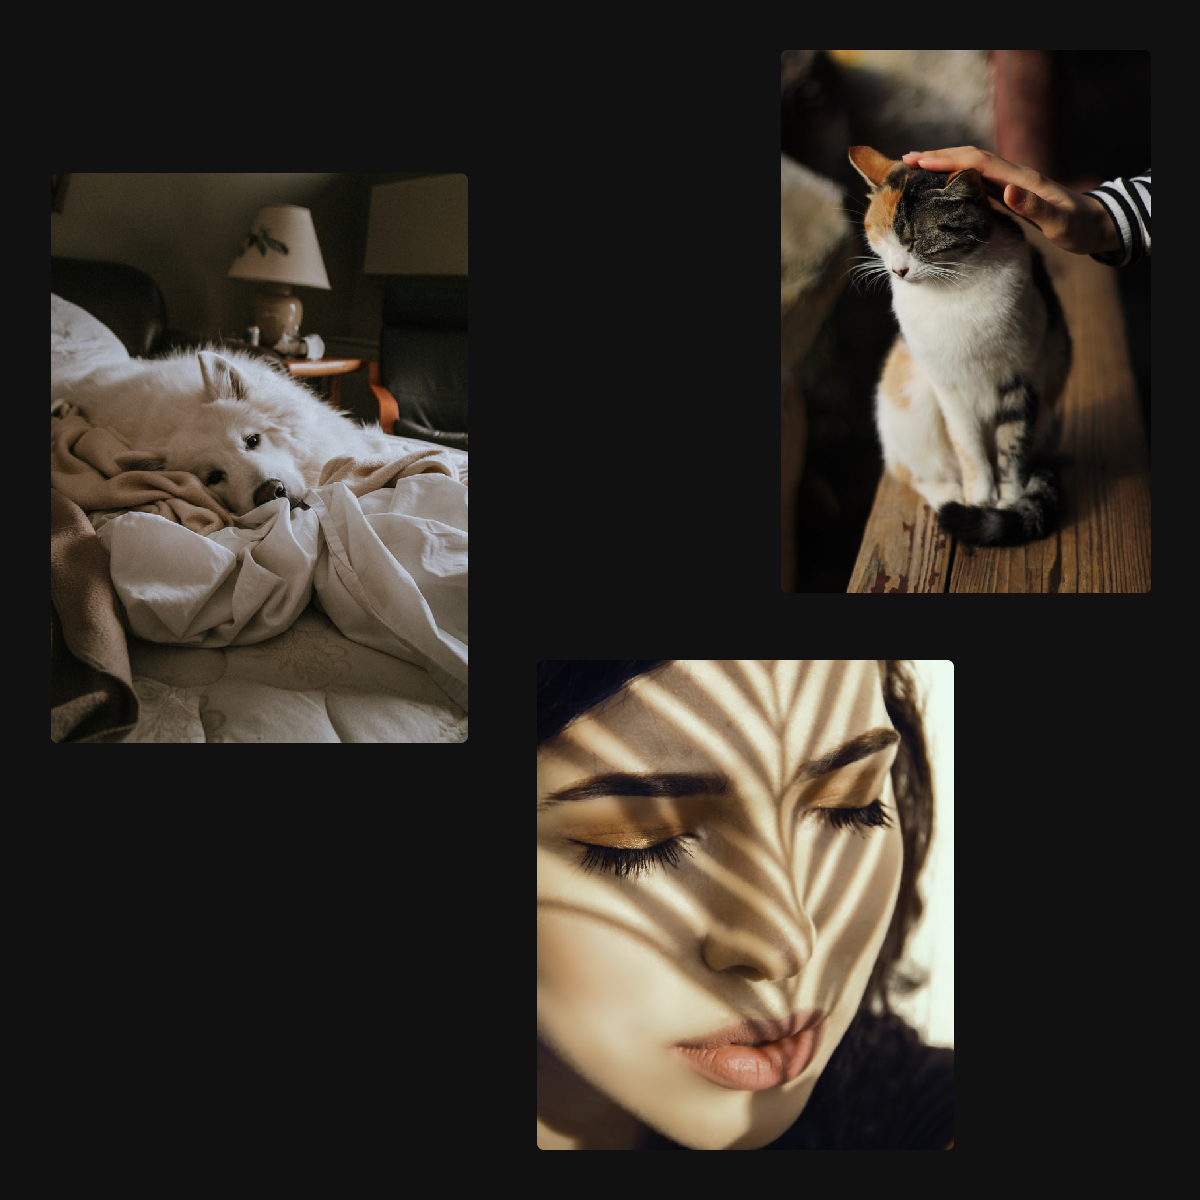
3. Shoot (self) portraits at home
For many people, more time at home means more family time. Why not use the opportunity to take some family portraits? You can also try practicing new techniques on your family members, partners, pets, room mates, or if you live alone – on yourself. YouTuber Sorelle Amore does a great job on explaining how to take the best “advanced selfies”. Check out her tiny room challenge or this one in a small town for inspiration. Taking portraits of yourself is quite tricky so having remote control over your camera will be extremely helpful. Here are a few ways to add some creative spark to your photos:
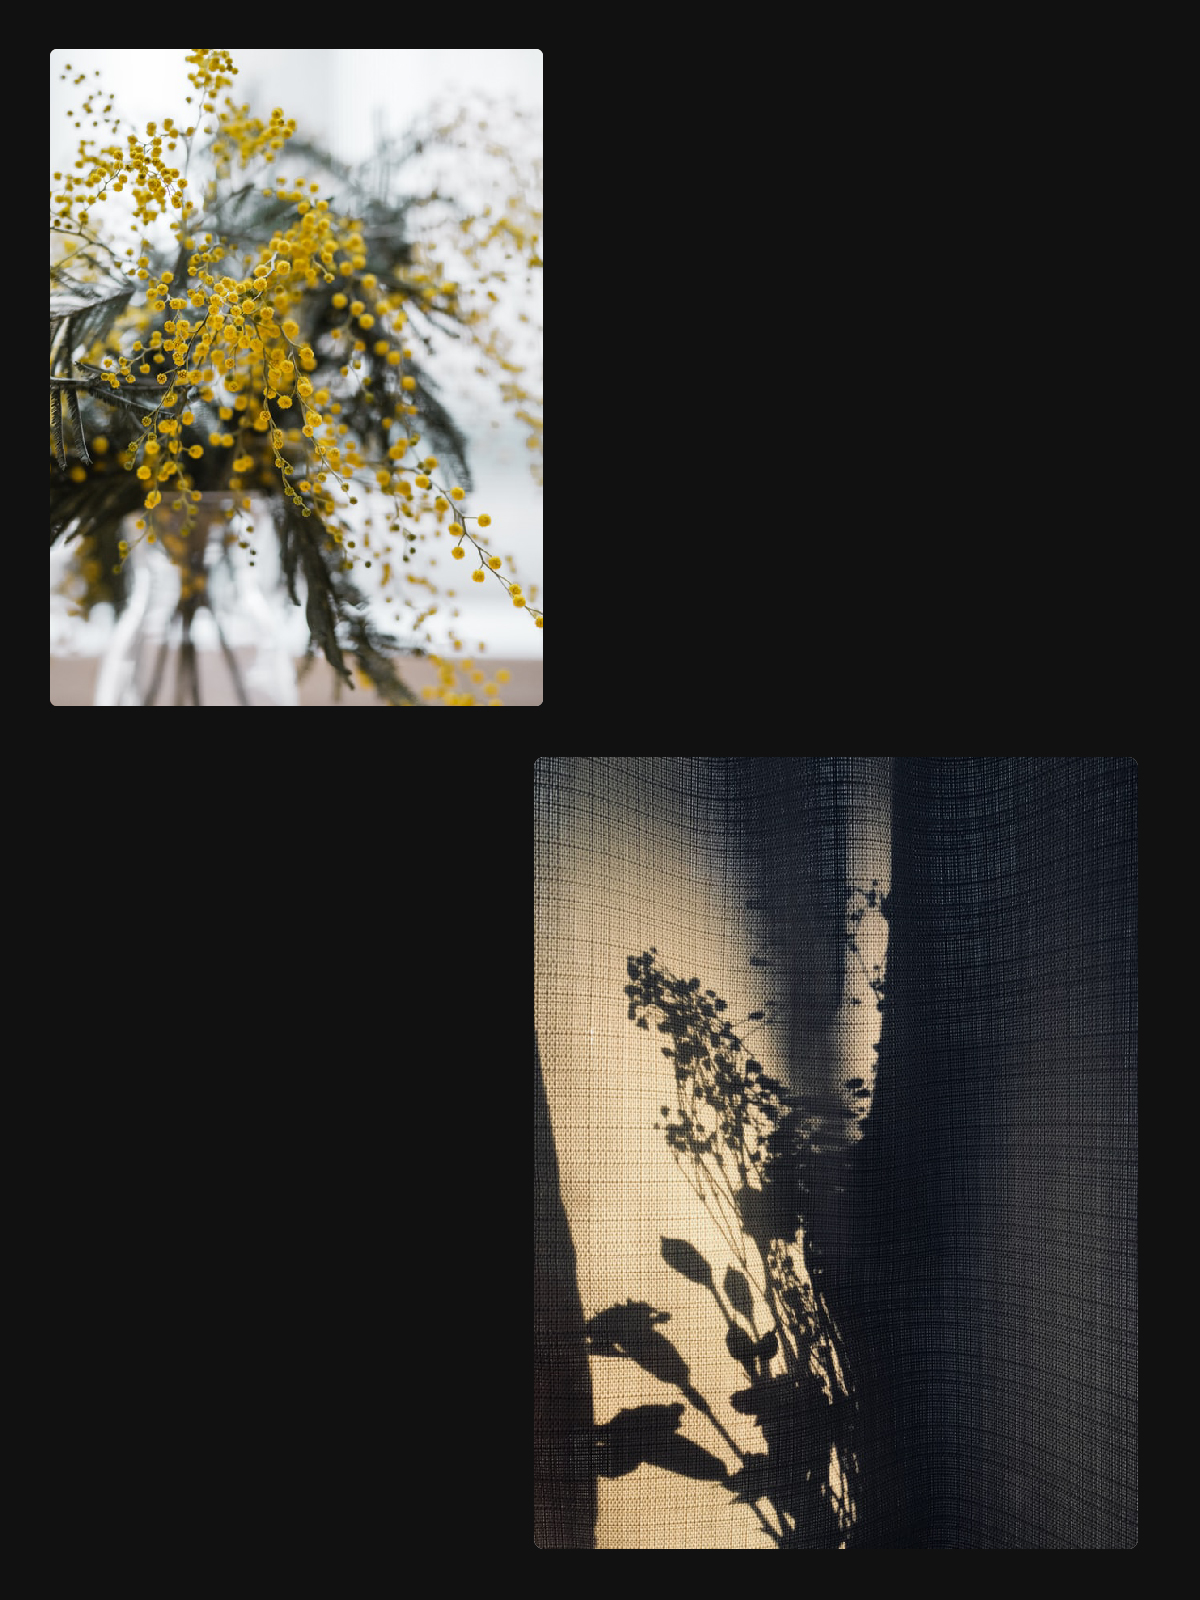
use props like glasses, phone screens, prisms, glass balls, kitchen utensils like sieves, knives, etc. in front of your lens to create interesting flares and shadows
use fabrics you have at home like curtains, sheets, scarves or blankets as backgrounds, in the foreground, draped around you or even as clothes
project a picture or pattern over the subject using an overhead projector
4. Time lapses & long exposures at home
Sure, you have less opportunities to travel at the moment. That shouldn’t necessarily keep you from creating stunning time lapses and long exposures, though. You may still be able to capture magnificent sunsets or sunrises from your window or garden. If you live in a highrise or the middle of the city, its neons and passing cars lend themselves perfectly to long exposures. Or change things up a bit and record time lapses indoors: meal prep, food baking in the oven, a satisfying decluttering session, your plants growing, someone making art… the possibilities are endless!
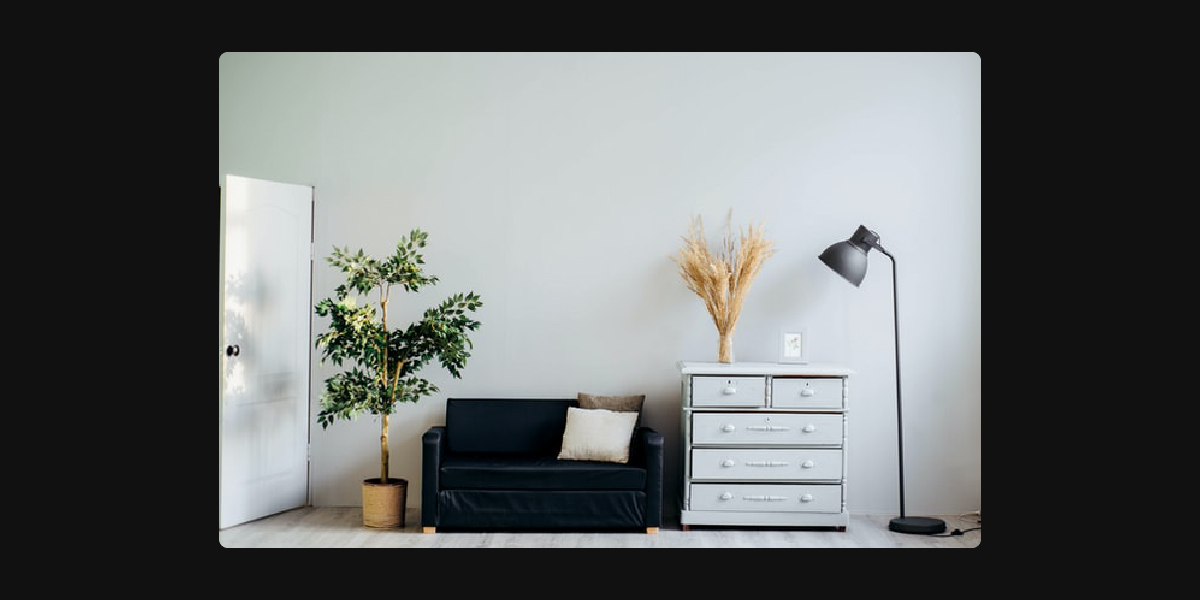
5. The Airbnb Photo shoot
Using the extra time to deep-clean your home seems to be trending at the moment, so why not use the opportunity to do a little photo shoot and get some beautiful shots of your living space? Pretend you want to put your apartment on Airbnb or get featured in an interior design magazine − make your place look immaculate. (Maybe it can also motivate you to tidy up in the future, once it no longer looks like in the pictures ;) ) Get creative with your shots by using wide angle lenses to get sweeping shots of the room and some more detailed shots with a tighter lens. Use a macro lens for details usually overlooked to get some cool abstract shots. If your apartment doesn’t have great natural lighting, this can also be a good challenge to practice your low light photography skills.
We hope some of these ideas inspire you to use your camera creatively at home!
When you order the Unleashed, it comes in a beautifully designed box. In order to get started, all you need to do is to install the free Foolography Unleashed app, plug the Unleashed into your camera and start the app to connect. We designed and developed everything with the goal that you won’t need a manual. However, we did get some feedback that a couple of explanations would be helpful. That’s why we shot several How-To-Videos that you can find on our support page. So if you’re still wondering how some of the modes work, check out the videos that explain all features in detail. The tutorials come with English and German subtitles as well as text transcripts so you can get the most out of your Unleashed.
If you have any feedback, please let us know. You can either have a look at our forum or write us an email to our info@ address. Thanks for your on-going support!
As we’re reviving our blog, we thought it would be great to introduce a series that is about photography and film making itself. Terminology, basics, techniques and hacks. At some point we hope to get other photographers to share their best practices or their newest “how-to”. Let’s see where this takes us.
Our final goal is to see people flourish in what they love doing – so we want to help in the best ways we can. And since we’re kind of into this photography thing, we want to engage with other photographers and filmmakers all over the world. So if you love your camera or are just getting started: This is the right place for you. :-)
We know, in general, there are many ways to reach a certain goal. It’s the same when taking photos or videos. That’s why, whenever we or someone else posts something, we want to start a conversation and discuss ideas.
Today, we want start off the series by looking into some of the basics behind long exposures.
LONG EXPOSURE PHOTOGRAPHY
A small excursion into the making of a photo: A photo needs exposure to be able to show what you photographed. Exposure is the amount of light hitting the electronic image sensor – or in earlier days – the photographic film. It determines how bright or dark a picture is in the end. This is variable, so the “perfect” exposure length varies from photo to photo. It all depends on the effect you want to achieve. In the end there is no “correct” exposure length for a given subject – in the end it is very much subjective.
In photography, the exposure is determined by the shutter speed, aperture (the opening of the lens) and ISO (which basically controls the brightness and darkness of your photo). It’s a formula of three variables.
For long exposures, you still consider all three variables. But here, shutter speed is the significant factor: It is the only variable that actually has a connection to time. That’s why it’s called “LONG” exposure. So the idea behind the long shutter speed is, that, because of the time factor, you’re able to catch (more) movement – things that happen over a period of time. And in the end, movement is what makes for a typical long exposure shot.
Typical scenarios where long exposures are used:
Night Photography
Night photography deserves an own article since the topic is huge. There are many ways to take photos at night, but one thing is certain: To avoid a super dark photo and a lot of noise (due to high ISO), you have to use a slow shutter speed. Even with a very low aperature (lower than f2), at some point the lens cannot be more open to catch more light.
Star Trails
Even though it’s part of night photography, catching star trails is a category of its own. It involves special techniques (bulb mode, stacking etc.) and a lot of preparation and timing. The idea behind it is to catch the stars’ movement, caused by the earth’s rotation, which creates fascinating light trails.
Light Painting
Here, you keep the scene very dark and use a light source (flashlight, fire, smartphone LED) to “paint” something in the air. As the shutter stays open and the (bright) light source is moving, you get crystal clear lines of light. You can even write entire sentences this way.
Water-Long-Exposures
Long exposures of moving water create a very mystic/misty look. It’s quite often used in combination with the HDR technique. The objects framing the water stay sharp – this creates tons of interesting composition options.
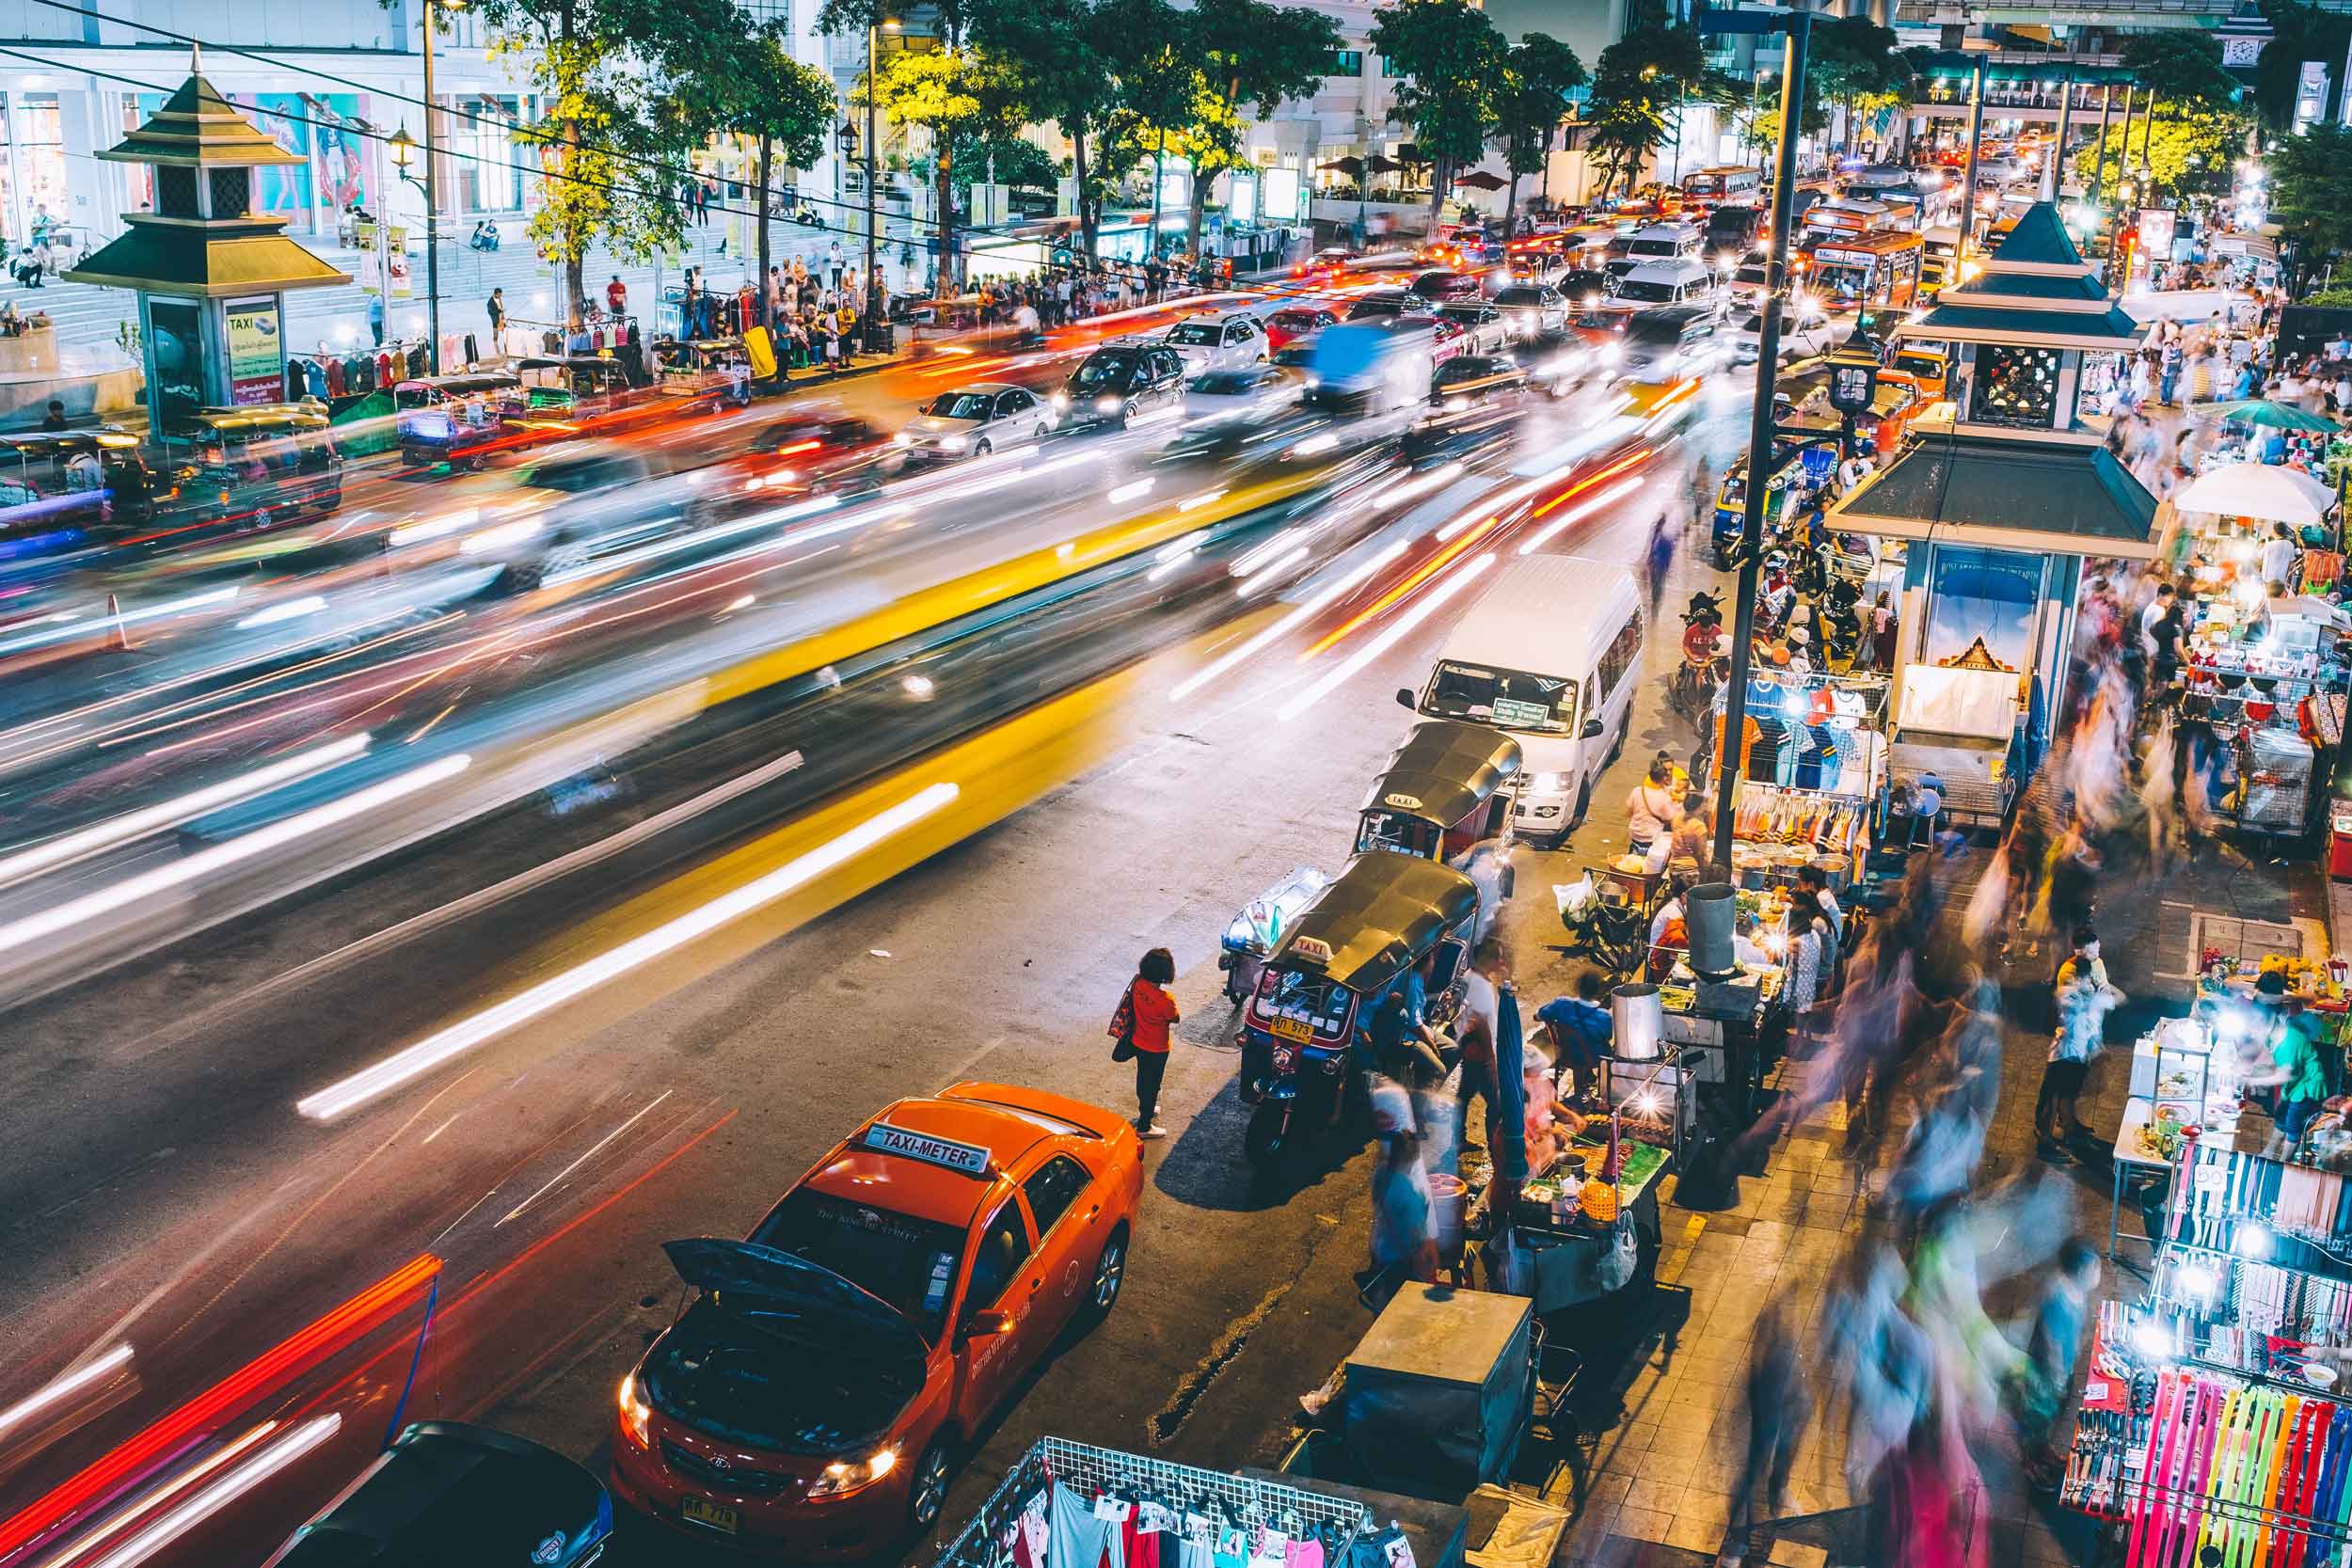
City-Long-Exposure
It’s the same principle as for water-long-exposures. This time, the stationary elements of the photo are the buildings and the moving elements are the cars. With their lights they create those beautiful light trails tracing the city streets.
So the next time you want to go out there to take photos, consider trying night photography. It brings tons of opportunities for creative long exposures and other beautiful photos. Take your tripod, set your camera to manual mode, try to use a low ISO and aperture – and play around with shutter speed. One last important tip: Try to use a camera remote control so you don’t have to touch your camera. Pressing the shutter can cause some shaking and the photo will be blurry. Our Unleashed is a great option for this and can make your next long exposure adventure a lot easier and more enjoyable!
Let us know in the comments what long exposures you like doing the most or what special tips you have for certain scenarios and effects.
Make sure you follow us on Facebook, Twitter and Instagram to get exciting news on Foolography, photography, videography and other interesting topics. Scroll down to subscribe to our quarterly newsletter to stay up-to-date and become part of the Fools. ;-)
30th of September 2016:
Against all odds, the Foolography office in Berlin Mitte is filled with over 50 people. Not employees, but friends and family who want to celebrate the successful funding of the new Unleashed on Kickstarter. 186,723 €, more than 300% of the initial funding goal. All achieved by a couple of people committed to a dream and passion. Honestly, we could have never imagined of the amount of support we got – from the people around us, and especially from the Kickstarter backers and supporters who also believed in what we were trying to achieve.
11th of April 2018:
Looking back today, we’re still amazed by the journey we are on and the development of Foolography and its employees. Being finally able to ship the Unleashed in a couple of weeks, we decided to give people the opportunity to be part of that journey: The journey of the Unleashed.
In this three part series we want talk about crowdfunding, what it’s like to be and run a hardware startup and where we see Foolography in a couple of years. The goal is to give you valuable insights, tips, dos and don’ts and hopefully encouragement to chase your dreams and hang in there – whether you have or want to start a business, are a photographer yourself or just interested in what we do and wondering how we do it.
Why crowdfunding?
This is the question we asked ourselves two years ago when we decided to launch a Kickstarter campaign for the new Unleashed – a smartphone DSLR remote control. And to be honest: We’re still asking us this question today from time to time. Clearly, crowdfunding is one of the best things that ever happened to help you to turn ideas into reality. Kickstarter puts it this way: “Our mission is to help bring creative projects to life.” However, what many people don’t know or at least underestimate: Doing a crowdfunding campaign is a lot of work – before and after it. Especially after it.
Maybe you didn’t know, but there is a Berlin hardware startup community. And many of those startups actually started off with a successful crowdfunding campaign. This is great and was especially helpful to us when we were playing with the idea of doing a Kickstarter campaign ourselves. We met with people who were further along the journey and absorbed all infos and insights we could get. Even though Foolography has been around for a couple of years at this point, doing a crowdfunding campaign was definitely a step into the unknown.
After a couple of weeks we had our “whys” and essential reasons why crowdfunding could be helpful and, what is even more important, why it might be the right next step for us. This is why we launched the new Unleashed on Kickstarter:
1. Money for production.
Marc Andreessen, a pretty famous investor, once said: “Hardware is hard”. Well, we couldn’t agree more. Building a technology hardware company is by far much harder than building a software company. There are many reasons why that is and one of the biggest is: In order to deliver the product to your customer, you need to produce it first. Meaning, physically produce it. Including finding the right parts, producing the PCB, the casing, the packaging, taking care of the assembly and much more. All things you don’t really have to worry about when having a digital product. And those things mentioned are usually pretty expensive and most important: You have to pay for it in advance before you are actually able to sell your product. So crowdfunding definitely is a big help when it comes to production of your product.
2. Proof of concept.
Whenever you have an idea for a new product it is wise to find out if there is a market for it. What do other people say about it? Are people already signing (or lining) up to get your product? And with people I don’t mean your grandparents or close friends. I’m talking about people who don’t know you but who could potentially be your future customers. Do you have a proof of concept? The cool thing about a good proof of concept is that it not only helps you to understand whether there are people out there who want to have your product, but to understand whether people like the way and method how you present and sell your product. See, the proof of concept is not a single yes or no. It’s a commitment to pay for what you offer. And usually that happens – yes, because of the greatness of your idea – but also because of how you marketed and sold it. So a proper proof of concept not only confirms your idea but also helps you to find a the right go-to-market strategy. Crowdfunding definitely is a good tool for that since people are supporting you not only with words but with money.
3. Building a community.
Having a community (or even customers) when you start shipping your product is one of the best things you can have. It literally is a kick-start. You will have people talking about it, testing it and in best case recommending it. And in the end, this is something worth more than thousands of online ads: People that recommend and advertise your product to their friends and family, in their own personal and unique way.
How to do crowdfunding?
You can find thousand of infos, you can read hundreds of articles and you can talk to dozens of people on how to approach this whole crowdfunding thing. And to be honest, I believe all of that is good and necessary. Because as it is with most things in life: Preparation is the key. So you actually can prepare a crowdfunding campaign and you actually can increase your chances of getting funded. We did all of the things listed above and they definitely helped us. But nonetheless, people still keep asking: “What are the biggest tips you can give me, when I want to do a crowdfunding campaign?” So here are the top ten of, I believe, most important things to consider and prepare well when doing a crowdfunding campaign.
1. Have a working prototype.
Oh yes. Something that is super important (probably the most important) and non-negotiable. Before you go public on a crowdfunding platform, have a working prototype of your product ready. (This is something we will discuss more in detail in part two of this series.)
2. Talk to people who (successfully) did it before.
I mentioned this before and cannot emphasize it enough. Reach out to people who did a crowdfunding campaign before and get as many insights as possible. Come prepared and ask questions.
3. Have a strategy, including a Plan B and C.
This seems to be an obvious thing to do, but it is those simple things that you forget or don’t do properly. Take enough time to write down your vision, goals and strategy. Try to sharpen your product’s USPs, verbalize them and get feedback.
4. Have a CI. Or at least PI (Product Identity).
It should be clear who you want to reach out to and what people perceive when getting in contact with your business or product. This includes a logo, slogan and everything you learn in Marketing 101.
5. Have a website or landing page outside of Kickstarter or Indiegogo.
You could argue about that point, but I personally think it’s necessary in order to be able to provide further information, have an official point of contact and most importantly to build trust.
6. Have a (large) newsletter list before.
This is something that can determine whether your campaign is successful or not. Having people that are ready to support you at the very start will push you forward in many ways. One way could be that the faster you get a lot of support, the more you become interesting for press or the crowdfunding platform itself. And this in return will generate awareness of your campaign.
7. Have a good video.
When looking for tips on the internet this is one of the things you will find the most. And yes, it’s very important. But what makes a good video is such an enormous topic for itself. Write us if you want further infos. ;-) Maybe we do an own article just about that – let us know in the comments if this is something you’re interested in.
8. Spend time on an appealing crowdfunding page.
The page of your campaign probably is the first or second point of contact for your potential customers. Make sure it’s visual, appealing and nicely structured. For example, remember to not overload it since most people will only have a look at the first few paragraphs and just a few will scroll down to the bottom.
9. Have a PR strategy.
This is something that certainly needs quite a bit of preparation in advance and is something we definitely could have done better: Have a good press release prepared and a well chosen list of people ready that potentially could write about you. If possible send product samples to those people beforehand.
10. Think about (but not necessarily do) online advertisement.
We didn’t do it, but could have done it and certainly would have gotten a bigger funding. Have a strategy and decide whether it’s helpful and possible due to production, pricing and production cost.
Well, this is it for now. There are certainly more things that are important to consider when thinking about doing a crowdfunding campaign. These, however, are some things that we learned along the journey and are telling most of the people who ask us about our campaign. We hope this gives you a little insight and helps somebody. We’ll continue with this series another time and will then talk about what it’s like to build hardware and what challenges can occur along the way – and how to overcome them.
Make sure you follow us on Facebook, Twitter and Instagram to get exciting news on Foolography, photography, videography and other interesting topics. Scroll down to subscribe to our quarterly newsletter to stay up-to-date and become part of the Fools. ;-)