Many people have asked, what’s special about our Unleashed. It’s said that the devil’s in the detail, so we wanted to share some of the technical details that really set the Unleashed apart. It’s gonna get real nerdy, so buckle up 🤓
Where to start?
We’ve been working on the Unleashed with up to 8 developers at once, over the course of about 5 years! The firmware alone is comprised of around a quarter of a million lines of code! For all those unsure what this means: That’s A LOT!
The Unleashed has two main components – a Bluetooth module based on a Nordic chipset and a microprocessor from STM. The STM is in charge of communicating with the camera. It implements a USB Host instance, two serial protocols and GPIOs. The Nordic handles communication with the app as well as accessories paired directly with the Unleashed.
Here’s what’s special and what makes those ~250000 lines of code even more incredible: The STM only has 128 Kilobytes of RAM, and 256 Kilobytes of storage, and the Nordic just 64KB RAM, but a little more storage.
That means we can’t use any readily available image handling libraries or SDKs to control the cameras, and we have had to program everything ourselves from scratch. We’re programming bare-metal – i.e. we’re not even using any operating system! We’ve had to be extremely careful with our very, very limited resources, which has resulted in clean and efficient code – by necessity. And that translates to a great user experience for you! The sad thing is, that no-one will ever notice most of the things that we have taken so much care to get right. Because it just works as you’d expect it to! We usually only notice the things that don’t work as they should.
Since we’re so proud of our accomplishments, I wanted to use this update to highlight some of those things that you’d probably never notice.
USB protocol madness
Except for Nikon, who provide excellent documentation on the USB protocol they use, we have had to reverse engineer this protocol for all the other camera brands. This protocol is called PTP/MTP, for which there is actually a well defined standard. What we found really odd is that, for reasons we cannot figure out, every manufacturer has their own weird extension of this protocol, instead of utilizing it in a way that’s already defined by the standard. Again, Nikon is an exception here, and maybe that’s a reason they’re happy to publish all the details of their API. You have no idea how often, when we finally figured out how something works for a certain manufacturer, we developers collectively just shook our heads and asked “Why???”. That’s the reason why it’s not so easy to add new manufacturers to our compatibility list. The protocol was designed to cover most camera capabilities, and provide easy ways to extend it, but instead, every single one of the manufacturers (except Nikon) does their own thing with it.
But that’s just the basics. Once we figured out everything we could, there were still so many cases where we were left wondering why they couldn’t have just done this other little bit, too, and made everyone’s life easy. Instead, we’ve had to implement complicated workarounds for things that should have just worked in the first place.
Nikon video
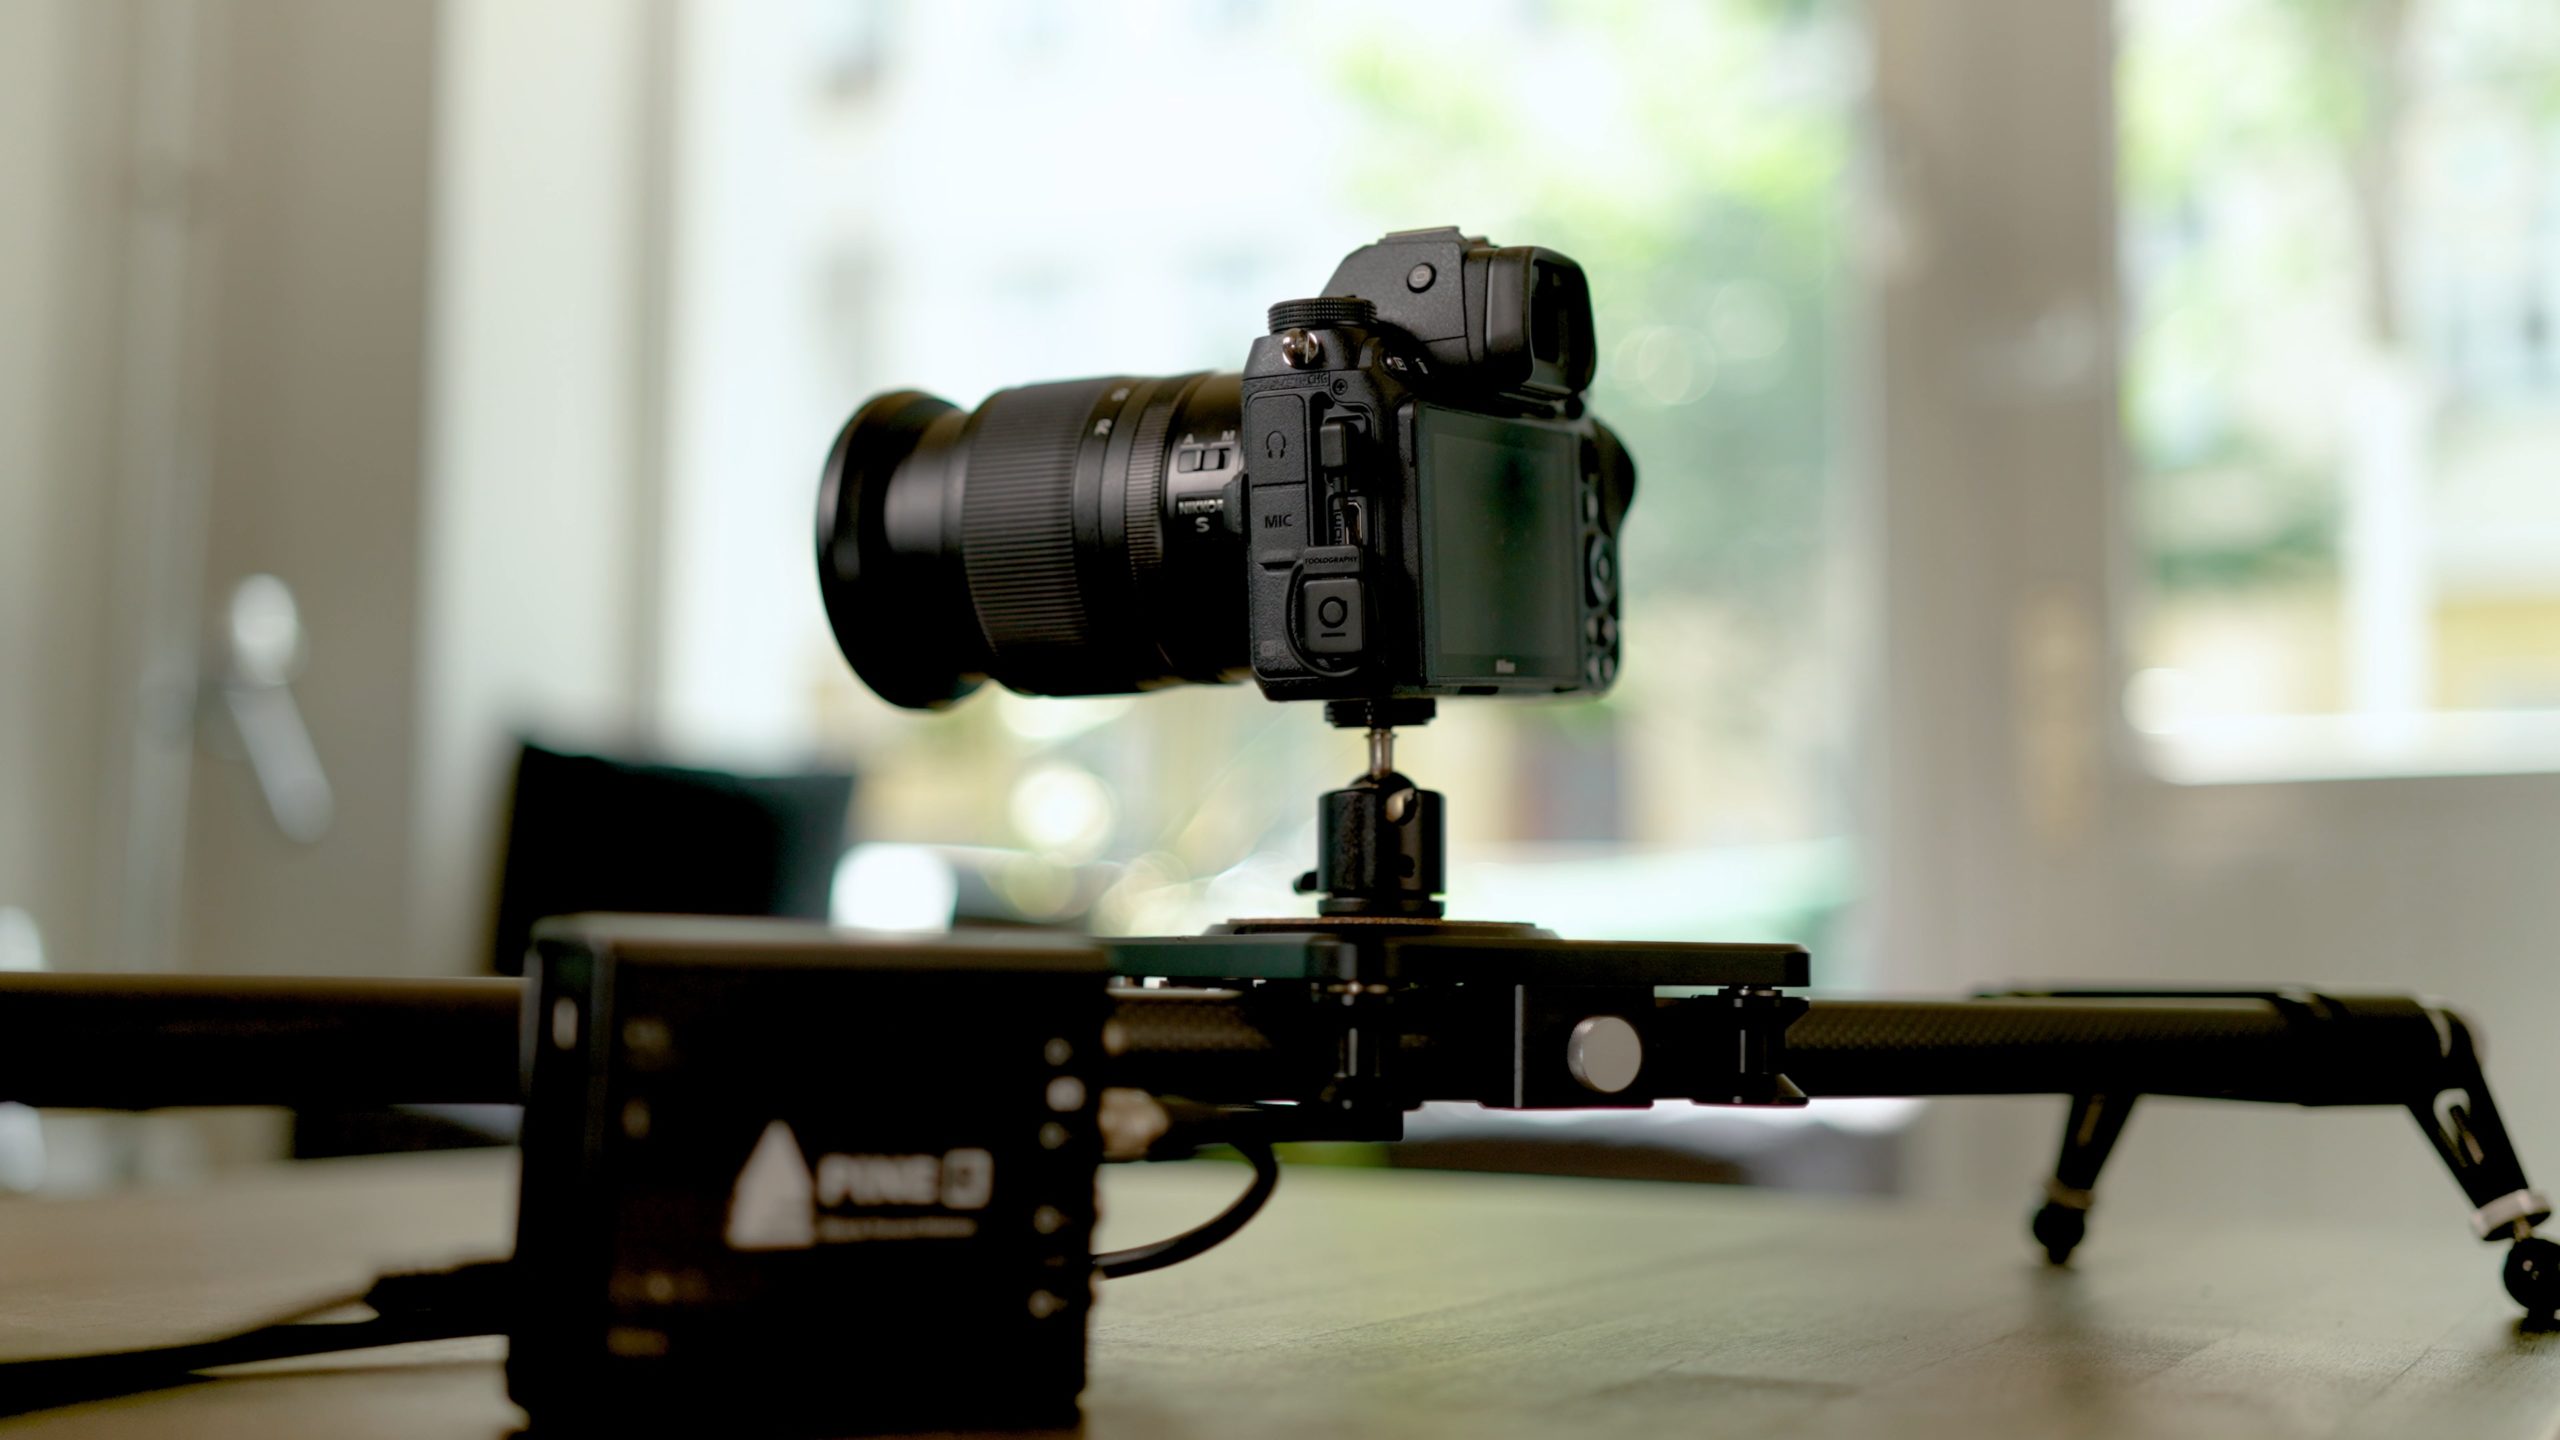
After all the praise, here’s a Nikon oddity. For some reason, when starting liveview (e.g. for video recording) via USB, Nikon did not allow for the liveview image to be displayed on the camera’s LCD. I suppose they assumed most use-cases for remote control via USB were to add a bigger screen like a laptop, and therefore expect the liveview image to be transmitted via USB. That’s fine, but why disable it on the camera screen? Anyway, we found a really cool workaround for that: When the user starts a video recording from the app, we quickly change a setting deep in the camera menu, that allows us to start liveview by halfpressing the shutterbutton, and start a video recording by fully pressing the shutterbutton. We then proceed to turn off the USB protocol, and turn on a secondary protocol (more on that later), half press, then full press the shutterbutton, and within a very, very short time, can start video recording with the live-view image showing on the camera’s screen (and HDMI for those with external recorders). Upon stopping the video, we quickly change back the setting to what it was before. Pretty cool, eh?
Nikon’s 10 pin protocol & GPS
That secondary protocol I mentioned is one that no-one knows of, which we completely figured out on our own – and it allows almost all the functions over just the 10 pin port that the Unleashed N1 and N2 plug into. This means that the Unleashed N1 and N2 actually work really well without the USB cable, retaining almost the entire featureset, except anything that has to do with image data. So image review, gallery and the LRT autoramping algorithms don’t work, but everything else will.
This also allows us to still give you control over all the settings while we turn off USB to allow you to shoot video.
One downside to this protocol is that is uses the same pins that we need for the GPS protocol on Nikon cameras. So when it’s used with geotagging turned on, we have to quickly turn off that protocol, turn on GPS, and then take a photo. This adds a slight delay to your triggering, but that’s what the “GPS Priority” setting is for – if you prefer no delays, you can set to trigger immediately, at the risk of having some photos without GPS data.
The other great thing about Nikon’s 10 pin port is that we get lots of information about the camera’s state directly through these pins. Like whether the camera is turned on, the meter is currently on, etc. This helps us manage power-saving features really well!
Tap-to-trigger
But one very cool bit of information is exactly when the shutter opens and closes. This allows for several cool features. The simplest is “tap to trigger”. At first we translated pressing the shutterbutton in the app 100% to pressing the shutterbutton on the camera. As photographers we’re used to pressing the shutterbutton until we hear the clicking of the shutter, then we release. But in the first user tests we did, we noticed that 100% of all testers, whether they were die-hard photographers or not, did a single short tap on the shutterbutton in the app, and were wondering why the camera wasn’t taking a photo! Because that’s what everyone is used to from apps! And so we implemented a solution for this in our firmware: if we receive a tap, the Unleashed will press and hold the camera’s shutterbutton for exactly as long as required, until it senses the shutter opening – i.e. when the camera starts the shot! We then release the trigger so fast, that even with the camera set to continuous high, it will only take a single shot! Of course, if you continue to hold the shutterbutton in the app, the Unleashed will also keep pressing the camera’s shutterbutton until you let go, for burst shots or in-camera HDR bracketing.
Minimal darktime
This also allows us to promise the absolute shortest dark-time during timelapses! Most intervalometers default to fully pressing the shutterbutton for one or two seconds, some even to the interval you set minus 1 second. This results in darktimes of at least that amount of time, no matter how fast the shutterspeed is. With the Unleashed, it’s guaranteed to be shorter than the darktime of the camera itself (while it’s taking the photo). On top of that, most intervalometers half-press for a second or so before fully pressing the trigger, just in case your camera needs to autofocus. This adds yet another second to the dark time, and in most cases, as your exposures get longer, will result in you not being able to review the images at all on the camera screen. Since the Unleashed has the information whether the camera is set to autofocus or not, we can skip the half-press time entirely. And because you really shouldn’t be using autofocus on timelapses, the Unleashed app will even warn you about this while setting up the timelapse. There are a handful of cases where we do half-press in advance, for example geotagging is on, and we do everything possible to make sure GPS data is in each and every photo.
We have similar mechanisms on several other camera brands, and because we’re triggering via USB on those, we can often also just tell the camera to take a single picture, rather than telling it to half-press/full press the shutterbutton. In other words, no intervalometer out there can have a shorter dark-time than what the Unleashed can offer!
LED in the dark
While we’re on the topic of triggering: We have a nice RGB LED in the Unleashed to quickly tell you at one glance what’s happening in the Unleashed. Since one of the many strengths of the Unleashed is in night photography, even a really dim LED can completely alter an exposure, and illuminate an entire room! That’s why the Unleashed turns off the LED automatically for the entire duration of each exposure. Even when you trigger on the camera (on most supported cameras), we will turn off that LED. These are the kind of details, you’ll simply never see implemented in products that weren’t designed by or at least with photographers. And talking about the LED: While it’s idle, the Unleashed’s LED slowly pulses the LED in different colors, depending on the connection state. We tested various pulsing patterns, and all the most obvious ones simply looked wrong. By far the most natural looking one was a sine-curve. Remember we said we had limited hardware resources? Yeah. Trigonometric functions are always floating-point based, and require a lot of resources. Both in memory, to hold the complex functions, but also in execution time, as working with floating points alone is “expensive” and trigonometry even more so. Instead we scoured academic papers on the topic and found a very, very close approximation – the Bhaskara I’s sine. We then implemented that with integer logic, making it extremely efficient and just as beautiful as an actual sine curve. Pretty cool, eh?
There are so many of these kinds of details all throughout our firmware and apps, it would take days to write them all down!
Image decoding on the fly
There’s one pretty amazing part of our firmware that I can’t not talk about. Our image decoder. I don’t know if any of you have any idea about the resources required to work with images. It’s a lot. Usually the entire image gets loaded into RAM, then gets fully decoded into RAM, then calculations are done, and everything is discarded again. With JPEG images easily getting to 20Megabytes and the decoded version of that often being over 100MB, You’d think it’s an impossible task for our little Unleashed with its 128KB of RAM. And yes, with conventional methods it would be.
That’s why we wrote an image decoder from scratch, which can decode JPEG images, requires a mere 500 bytes of RAM, and can handle image data coming in in packets as small as 1 Byte at a time. All that while being performant enough to run at relatively slow processing speeds! That means we don’t have to save any of the image data, but can handle a packet of data, do our calculations and throw it away, We calculate and save the histogram data, and then use that to run the image-based algorithms for autoramping timelapses. And that happens once every interval. While we were at it, we also wrote a parser for EXIF data, so that we could get some valuable information about each image within the first few bytes of an image, skip to the really interesting parts, and only have to decode those parts, as opposed to decoding everything, and keeping only what interests us. That’s also how we can transfer the high-resolution previews without having to transfer the originals!
Previews with metadata
In fact, on most cameras, when we transfer a high resolution preview, we actually merge the EXIF data of the original with the image data of the preview, of course replacing things like X and Y resolution on the fly. This makes those previews even more valuable, as they still contain all your metadata, such as geotags, so if you save the previews to your iPhone’s camera roll, you’ll get to see your camera’s photos in the really cool Places album, where you can browse and find all your photos on a map interface.
We worked so much on our image decoder, and even implemented really, really efficient transcoding of jpeg images to reduce their size on the fly. Something we had hoped to be able to use for reducing the size of liveview frames, to be able to offer decent liveview over the low bandwidth of Bluetooth Low Energy. But sadly, after implementing all that, we hit other bottlenecks that prohibited us from being able to release this feature.
Our Baby
You probably read on our campaign page, that the Unleashed is not just another product out there, but it’s our Baby! Maybe now you have a little bit more of an idea of what we meant with that. We love the Unleashed and we’re pouring everything into it that we’ve got – to make it the coolest camera accessory that we personally always dreamt of!
Greetings from Berlin.
BACK TO INDIEGOGO