Posted on 8 Comments

Motion controllers – Black Forest Motion and Syrp

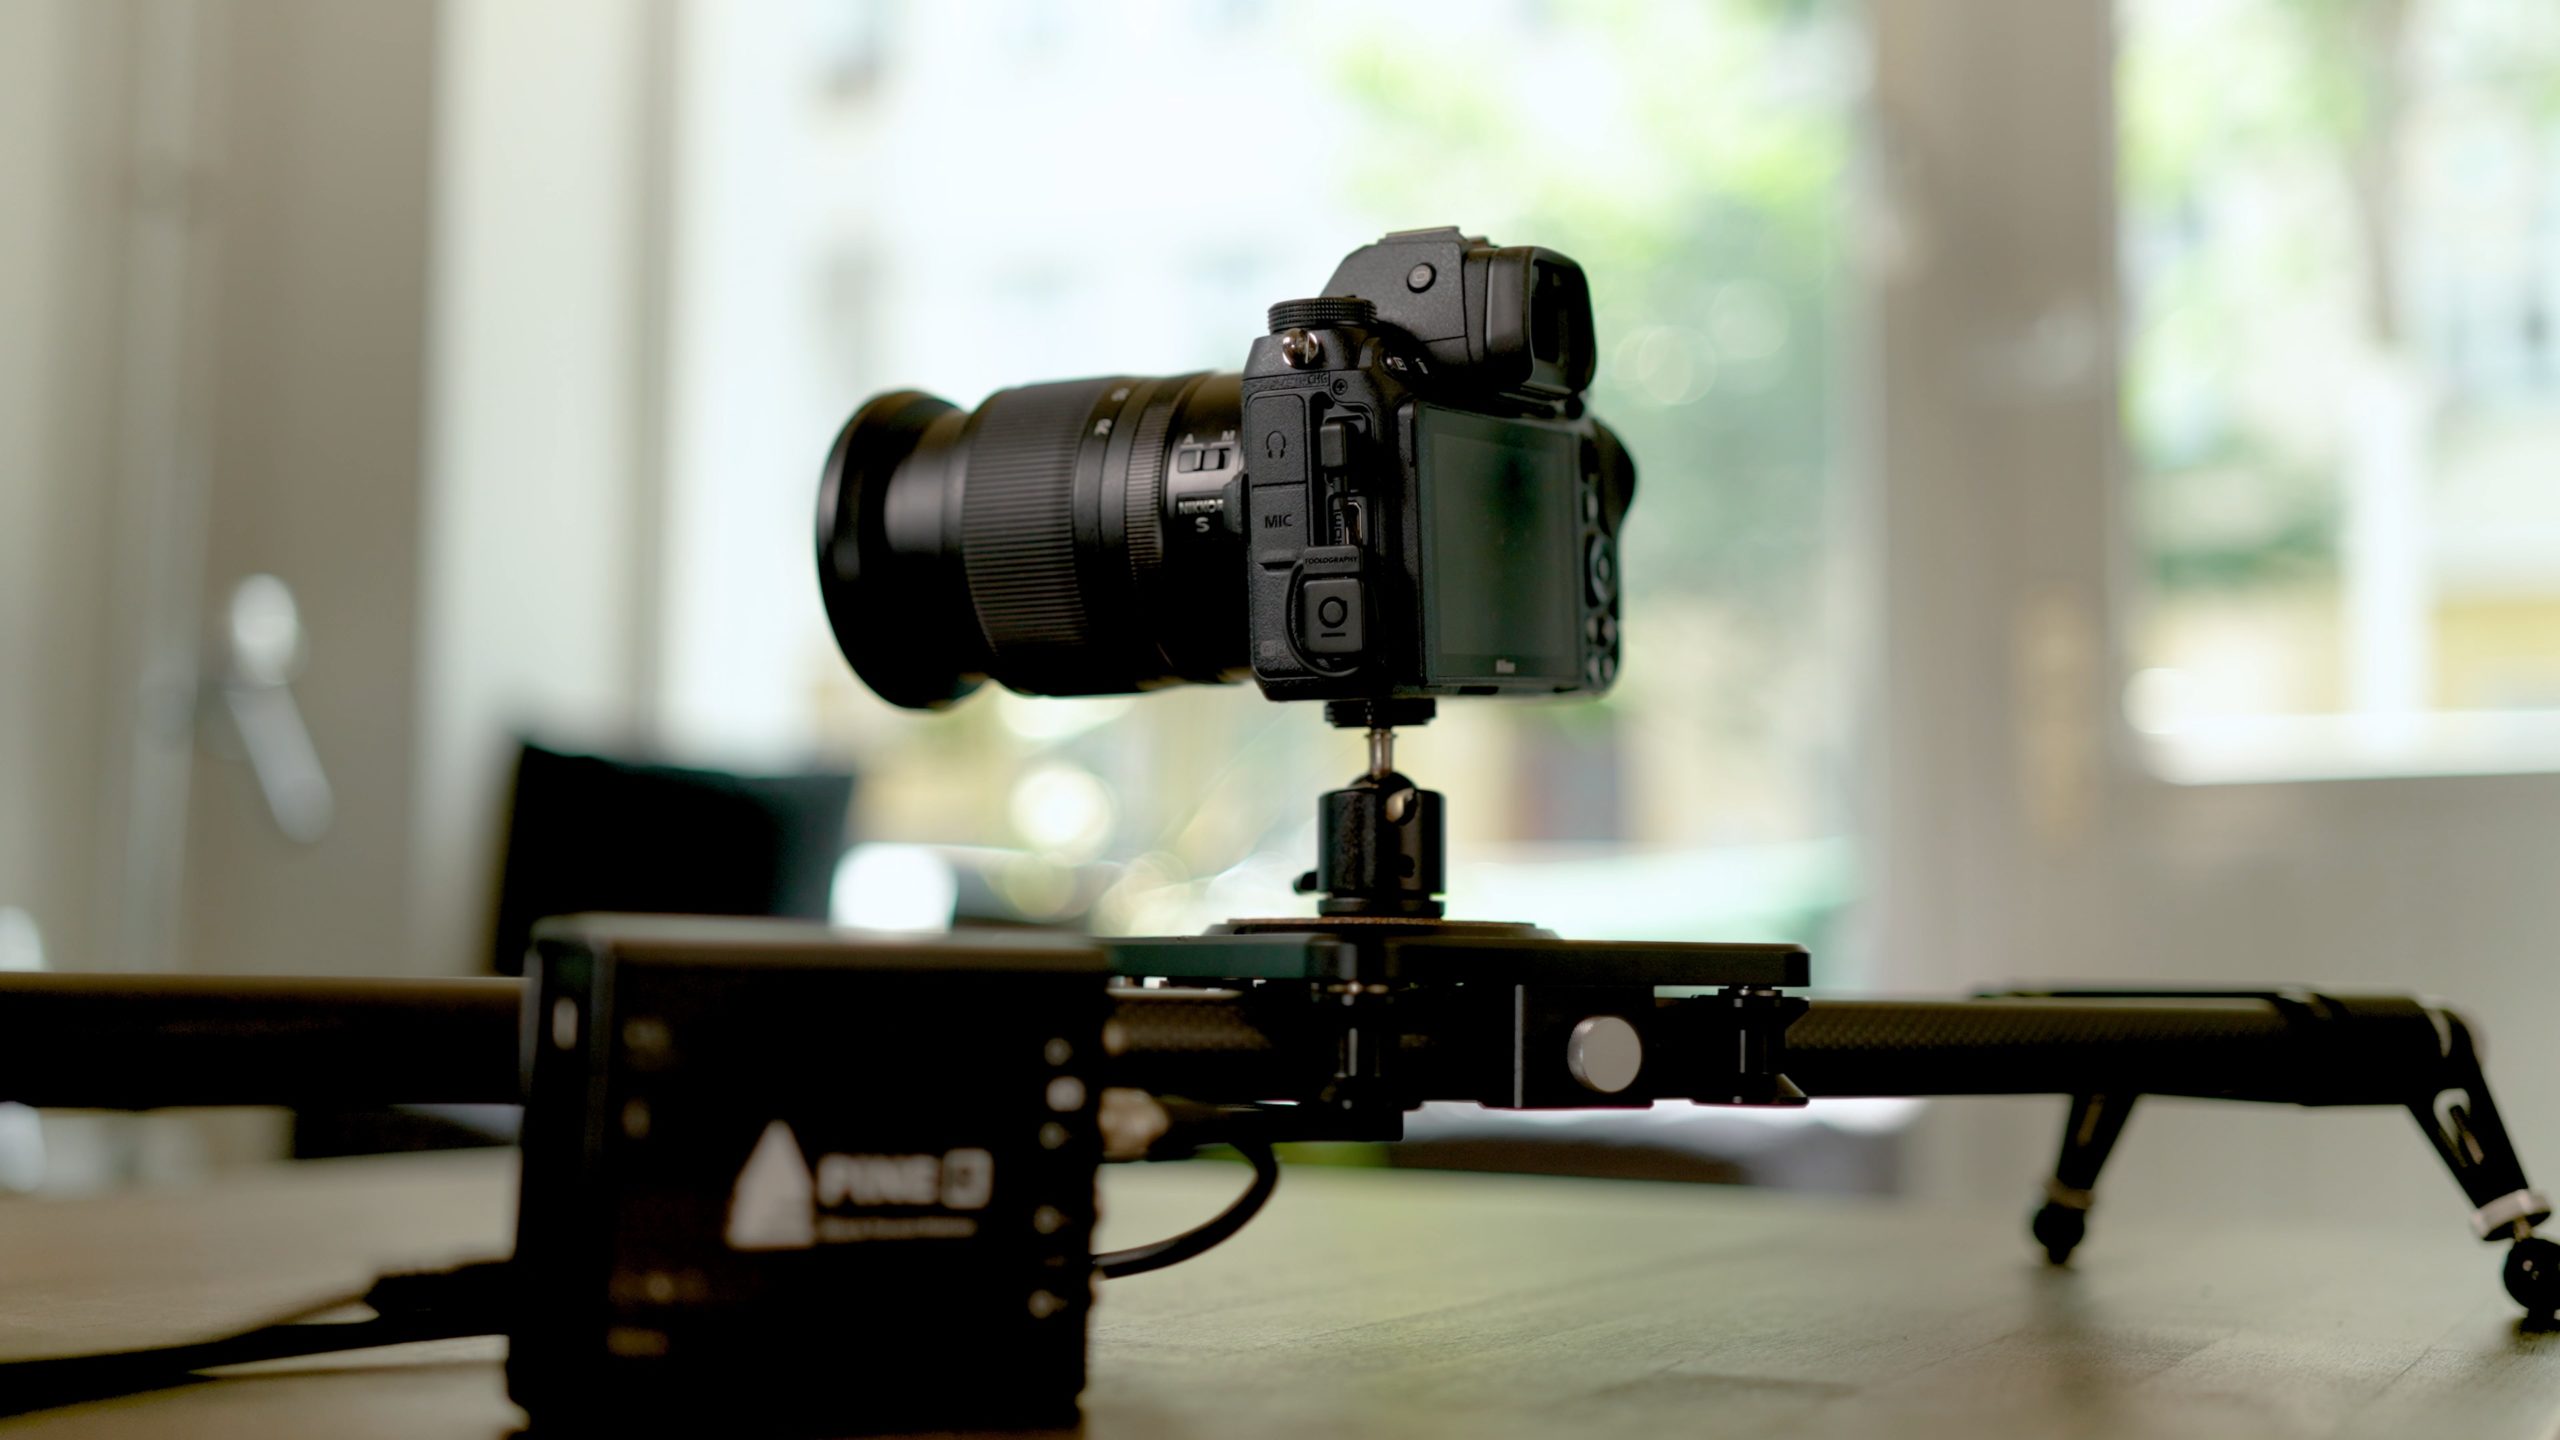
Camera with an Unleashed sitting on a motion controller

A lot of you asked about motion controllers, so we put a little more effort into getting it to work smoothly, so we can show you in a quick demonstration. The guys from Black Forest Motion even sent us one of their latest PINE II controllers, that just came out a few weeks ago. With all the updates it got, the most relevant update is that it now supports two concurrent Bluetooth Low Energy connections. One for the PINE app, where you set up the keyframes of the motion paths, and one for the Unleashed which tells the controller when to move to the next frame! While it already worked well with the older PINE controllers, it was a bit of a hassle always disabling one to allow the other to connect. Now, it just works, and we made a quick demo for you guys. Be sure to check out all their cool motion control equipment on blackforestmotion.com

YouTube

By loading the video, you agree to YouTube's privacy policy.
Learn more

Load video

Just last week, we also implemented the protocol to communicate with the API we got from Syrp a while ago. We’re proud to announce that it also works like a charm, and have another quick demo to show you. At the moment, Syrp only allows a single connection, so after setting up keyframes in the Syrp app, you need to disconnect to allow the Unleashed to connect. Hopefully that’ll change soon though! Even so, it’s really cool to see the wireless synchronisation working so well already.

YouTube

By loading the video, you agree to YouTube's privacy policy.
Learn more

Load video

Compatibility of the motion controllers is limited to the Unleashed ’22 that is available on Indiegogo.

Posted on 1 Comment

Tech deep dive

Many people have asked, what’s special about our Unleashed. It’s said that the devil’s in the detail, so we wanted to share some of the technical details that really set the Unleashed apart. It’s gonna get real nerdy, so buckle up 🤓

Where to start?

We’ve been working on the Unleashed with up to 8 developers at once, over the course of about 5 years! The firmware alone is comprised of around a quarter of a million lines of code! For all those unsure what this means: That’s A LOT!

The Unleashed has two main components – a Bluetooth module based on a Nordic chipset and a microprocessor from STM. The STM is in charge of communicating with the camera. It implements a USB Host instance, two serial protocols and GPIOs. The Nordic handles communication with the app as well as accessories paired directly with the Unleashed.

Here’s what’s special and what makes those ~250000 lines of code even more incredible: The STM only has 128 Kilobytes of RAM, and 256 Kilobytes of storage, and the Nordic just 64KB RAM, but a little more storage.

That means we can’t use any readily available image handling libraries or SDKs to control the cameras, and we have had to program everything ourselves from scratch. We’re programming bare-metal – i.e. we’re not even using any operating system! We’ve had to be extremely careful with our very, very limited resources, which has resulted in clean and efficient code – by necessity. And that translates to a great user experience for you! The sad thing is, that no-one will ever notice most of the things that we have taken so much care to get right. Because it just works as you’d expect it to! We usually only notice the things that don’t work as they should.

Since we’re so proud of our accomplishments, I wanted to use this update to highlight some of those things that you’d probably never notice.

USB protocol madness

Except for Nikon, who provide excellent documentation on the USB protocol they use, we have had to reverse engineer this protocol for all the other camera brands. This protocol is called PTP/MTP, for which there is actually a well defined standard. What we found really odd is that, for reasons we cannot figure out, every manufacturer has their own weird extension of this protocol, instead of utilizing it in a way that’s already defined by the standard. Again, Nikon is an exception here, and maybe that’s a reason they’re happy to publish all the details of their API. You have no idea how often, when we finally figured out how something works for a certain manufacturer, we developers collectively just shook our heads and asked “Why???”. That’s the reason why it’s not so easy to add new manufacturers to our compatibility list. The protocol was designed to cover most camera capabilities, and provide easy ways to extend it, but instead, every single one of the manufacturers (except Nikon) does their own thing with it.

But that’s just the basics. Once we figured out everything we could, there were still so many cases where we were left wondering why they couldn’t have just done this other little bit, too, and made everyone’s life easy. Instead, we’ve had to implement complicated workarounds for things that should have just worked in the first place.

Nikon video

After all the praise, here’s a Nikon oddity. For some reason, when starting liveview (e.g. for video recording) via USB, Nikon did not allow for the liveview image to be displayed on the camera’s LCD. I suppose they assumed most use-cases for remote control via USB were to add a bigger screen like a laptop, and therefore expect the liveview image to be transmitted via USB. That’s fine, but why disable it on the camera screen? Anyway, we found a really cool workaround for that: When the user starts a video recording from the app, we quickly change a setting deep in the camera menu, that allows us to start liveview by halfpressing the shutterbutton, and start a video recording by fully pressing the shutterbutton. We then proceed to turn off the USB protocol, and turn on a secondary protocol (more on that later), half press, then full press the shutterbutton, and within a very, very short time, can start video recording with the live-view image showing on the camera’s screen (and HDMI for those with external recorders). Upon stopping the video, we quickly change back the setting to what it was before. Pretty cool, eh?

Nikon’s 10 pin protocol & GPS

That secondary protocol I mentioned is one that no-one knows of, which we completely figured out on our own – and it allows almost all the functions over just the 10 pin port that the Unleashed N1 and N2 plug into. This means that the Unleashed N1 and N2 actually work really well without the USB cable, retaining almost the entire featureset, except anything that has to do with image data. So image review, gallery and the LRT autoramping algorithms don’t work, but everything else will.

This also allows us to still give you control over all the settings while we turn off USB to allow you to shoot video.

One downside to this protocol is that is uses the same pins that we need for the GPS protocol on Nikon cameras. So when it’s used with geotagging turned on, we have to quickly turn off that protocol, turn on GPS, and then take a photo. This adds a slight delay to your triggering, but that’s what the “GPS Priority” setting is for – if you prefer no delays, you can set to trigger immediately, at the risk of having some photos without GPS data.

The other great thing about Nikon’s 10 pin port is that we get lots of information about the camera’s state directly through these pins. Like whether the camera is turned on, the meter is currently on, etc. This helps us manage power-saving features really well!

Tap-to-trigger

But one very cool bit of information is exactly when the shutter opens and closes. This allows for several cool features. The simplest is “tap to trigger”. At first we translated pressing the shutterbutton in the app 100% to pressing the shutterbutton on the camera. As photographers we’re used to pressing the shutterbutton until we hear the clicking of the shutter, then we release. But in the first user tests we did, we noticed that 100% of all testers, whether they were die-hard photographers or not, did a single short tap on the shutterbutton in the app, and were wondering why the camera wasn’t taking a photo! Because that’s what everyone is used to from apps! And so we implemented a solution for this in our firmware: if we receive a tap, the Unleashed will press and hold the camera’s shutterbutton for exactly as long as required, until it senses the shutter opening – i.e. when the camera starts the shot! We then release the trigger so fast, that even with the camera set to continuous high, it will only take a single shot! Of course, if you continue to hold the shutterbutton in the app, the Unleashed will also keep pressing the camera’s shutterbutton until you let go, for burst shots or in-camera HDR bracketing.

Minimal darktime

This also allows us to promise the absolute shortest dark-time during timelapses! Most intervalometers default to fully pressing the shutterbutton for one or two seconds, some even to the interval you set minus 1 second. This results in darktimes of at least that amount of time, no matter how fast the shutterspeed is. With the Unleashed, it’s guaranteed to be shorter than the darktime of the camera itself (while it’s taking the photo). On top of that, most intervalometers half-press for a second or so before fully pressing the trigger, just in case your camera needs to autofocus. This adds yet another second to the dark time, and in most cases, as your exposures get longer, will result in you not being able to review the images at all on the camera screen. Since the Unleashed has the information whether the camera is set to autofocus or not, we can skip the half-press time entirely. And because you really shouldn’t be using autofocus on timelapses, the Unleashed app will even warn you about this while setting up the timelapse. There are a handful of cases where we do half-press in advance, for example geotagging is on, and we do everything possible to make sure GPS data is in each and every photo.

We have similar mechanisms on several other camera brands, and because we’re triggering via USB on those, we can often also just tell the camera to take a single picture, rather than telling it to half-press/full press the shutterbutton. In other words, no intervalometer out there can have a shorter dark-time than what the Unleashed can offer!

LED in the dark

While we’re on the topic of triggering: We have a nice RGB LED in the Unleashed to quickly tell you at one glance what’s happening in the Unleashed. Since one of the many strengths of the Unleashed is in night photography, even a really dim LED can completely alter an exposure, and illuminate an entire room! That’s why the Unleashed turns off the LED automatically for the entire duration of each exposure. Even when you trigger on the camera (on most supported cameras), we will turn off that LED. These are the kind of details, you’ll simply never see implemented in products that weren’t designed by or at least with photographers. And talking about the LED: While it’s idle, the Unleashed’s LED slowly pulses the LED in different colors, depending on the connection state. We tested various pulsing patterns, and all the most obvious ones simply looked wrong. By far the most natural looking one was a sine-curve. Remember we said we had limited hardware resources? Yeah. Trigonometric functions are always floating-point based, and require a lot of resources. Both in memory, to hold the complex functions, but also in execution time, as working with floating points alone is “expensive” and trigonometry even more so. Instead we scoured academic papers on the topic and found a very, very close approximation – the Bhaskara I’s sine. We then implemented that with integer logic, making it extremely efficient and just as beautiful as an actual sine curve. Pretty cool, eh?

There are so many of these kinds of details all throughout our firmware and apps, it would take days to write them all down!

Image decoding on the fly

There’s one pretty amazing part of our firmware that I can’t not talk about. Our image decoder. I don’t know if any of you have any idea about the resources required to work with images. It’s a lot. Usually the entire image gets loaded into RAM, then gets fully decoded into RAM, then calculations are done, and everything is discarded again. With JPEG images easily getting to 20Megabytes and the decoded version of that often being over 100MB, You’d think it’s an impossible task for our little Unleashed with its 128KB of RAM. And yes, with conventional methods it would be.

That’s why we wrote an image decoder from scratch, which can decode JPEG images, requires a mere 500 bytes of RAM, and can handle image data coming in in packets as small as 1 Byte at a time. All that while being performant enough to run at relatively slow processing speeds! That means we don’t have to save any of the image data, but can handle a packet of data, do our calculations and throw it away, We calculate and save the histogram data, and then use that to run the image-based algorithms for autoramping timelapses. And that happens once every interval. While we were at it, we also wrote a parser for EXIF data, so that we could get some valuable information about each image within the first few bytes of an image, skip to the really interesting parts, and only have to decode those parts, as opposed to decoding everything, and keeping only what interests us. That’s also how we can transfer the high-resolution previews without having to transfer the originals!

Previews with metadata

In fact, on most cameras, when we transfer a high resolution preview, we actually merge the EXIF data of the original with the image data of the preview, of course replacing things like X and Y resolution on the fly. This makes those previews even more valuable, as they still contain all your metadata, such as geotags, so if you save the previews to your iPhone’s camera roll, you’ll get to see your camera’s photos in the really cool Places album, where you can browse and find all your photos on a map interface.

We worked so much on our image decoder, and even implemented really, really efficient transcoding of jpeg images to reduce their size on the fly. Something we had hoped to be able to use for reducing the size of liveview frames, to be able to offer decent liveview over the low bandwidth of Bluetooth Low Energy. But sadly, after implementing all that, we hit other bottlenecks that prohibited us from being able to release this feature.

Our Baby

You probably read on our campaign page, that the Unleashed is not just another product out there, but it’s our Baby! Maybe now you have a little bit more of an idea of what we meant with that. We love the Unleashed and we’re pouring everything into it that we’ve got – to make it the coolest camera accessory that we personally always dreamt of!

Greetings from Berlin.

BACK TO INDIEGOGO
Posted on 8 Comments

BIG News – New Unleashed for Sony, Fujifilm, Panasonic, Canon & Nikon

Over the last 2 years we’ve worked hard on developing an Unleashed for more brands than just Canon and Nikon. We’re so excited to now finally announce the new Unleashed ‘22! It is compatible with Sony, Fujifilm, Panasonic as well as Canon and Nikon cameras. With Bluetooth 5.0 and huge internal improvements, we managed to make it 10x faster, enabling us to add great new features! Check it out on Kickstarter!

Update: Since the campaign ended on November 30th, the Unleashed ’22 is available on Indiegogo.

Update

The campaign was fully funded in just 2.5 hours and is going very well, but to make it really successful, we need your help! We’d really appreciate if you told friends, family or colleagues about our campaign, by simply sharing this link: https://www.kickstarter.com/projects/foolography/unleashed-22?ref=5f9mlb and any (or all) of our posts on Social Media (@foolography). It’ll take only a few seconds of your time and be a huge help for us. Thank you so much for your support! 

Posted on 2 Comments

Huge App Update 2.0.0

Great news for our Unleashed users: We reworked every part of our firmware and much of our apps in preparation for a new version of the Unleashed that we’ll be announcing next week: the Unleashed ’22. And we’re making all these improvements available to our Unleashed ’18 users as a free update!

Most of the time we spent developing the new Unleashed was on reworking every part of our firmware and much of our apps. We’ve been beta testing this for quite some time with about 200 users (thank you so much for your support!), have since fixed many bugs and even added a small feature or two along the way. We fixed many edge cases after getting customer feedback, or that we found during the rework. So if you’ve ever had an issue or been unhappy with your Unleashed, you should really give it another try. And for most of you who are already happy with it, this update will make you even happier 😉

The most noticeable improvements in the 2.0.0 update for your Unleasheds are in speed and stability,  Bluetooth connectivity on Android, as well as autoramping reliability in all cases! For a complete list of changes, please see our changelogs. After months of beta testing and internal testing, we’re confident we’ve ironed out virtually all bugs and issues. But amongst thousands of you using the Unleashed in creative ways, of course there’s a chance you’ll find something we missed. If you do, please don’t worry, and simply report it to support@foolography.com or on our community forum, and we’ll  get right on fixing it.

Posted on 5 Comments

Unleashed Review Videos – Updated November 2021

Unleashed Reviews

Sometimes you just need a second opinion. Of course we could tell you everything you need to know about the Unleashed. But to make the decision whether to get one, you probably also want to hear about the experiences of Unleashed users. That’s why we compiled a list of Unleashed reviews and videos that feature the Unleashed. We will update this list as more reviews are released.

Unleashed review videos

YouTube

By loading the video, you agree to YouTube's privacy policy.
Learn more

Load video

YouTube

By loading the video, you agree to YouTube's privacy policy.
Learn more

Load video

YouTube

By loading the video, you agree to YouTube's privacy policy.
Learn more

Load video

YouTube

By loading the video, you agree to YouTube's privacy policy.
Learn more

Load video

YouTube

By loading the video, you agree to YouTube's privacy policy.
Learn more

Load video

YouTube

By loading the video, you agree to YouTube's privacy policy.
Learn more

Load video

Unleashed unboxing and tutorial videos

YouTube

By loading the video, you agree to YouTube's privacy policy.
Learn more

Load video

YouTube

By loading the video, you agree to YouTube's privacy policy.
Learn more

Load video

For more information and tutorials head on over to our support section with all of our Unleashed tutorial videos!

Posted on 8 Comments

Early Christmas Giveaway – Win Gear worth over 400€

Foolography Giveaway

We’re giving away one Unleashed and a gift certificate worth 220€ for a camera online store of your choice (no Amazon)! Consider it a Christmas gift for yourself or for someone else. We know it’s early but isn’t it always best to get the present shopping done early? #BlackFriday ;)

If you don’t have a Nikon or Canon camera, don’t worry! We have something extra special for you: you will receive one of the first hand-crafted beta versions of the Unleashed for your Sony, Fujifilm, Olympus and Panasonic camera! While we don’t have an exact launch date yet, you will receive it months before the official release, guaranteed. Once it’s finished, we’ll send you a final version of the Unleashed, as well.

Foolography Giveaway – Win gear worth over 400€

So here’s how to win…

Entering the giveaway is easy, just login below and complete as many of the following steps as you like to increase your chances of winning.

  1. Visit and like our Facebook page.
  2. Visit and follow us on Instagram.
  3. Upload and submit a photo from Instagram with the hashtag #foolography and #unleashed. This can be a photo you took with an Unleashed or the kind of photo you’d like to take with it. Alternatively, you can add the hashtag to a relevant photo you uploaded recently.
  4. Visit and subscribe to our YouTube channel.
  5. Share this giveaway with your friends and family.
  6. Subscribe to our newsletter.
  7. If you do 4 or more of these, you can receive extra entries!

Foolography Christmas Giveaway

The winner will be announced on Thursday, November 12th at 12 pm CET. Good luck!


Posted on 1 Comment

Michael Ver Sprill (Milky Way Mike) Interview

Photo by Michael Ver Sprill

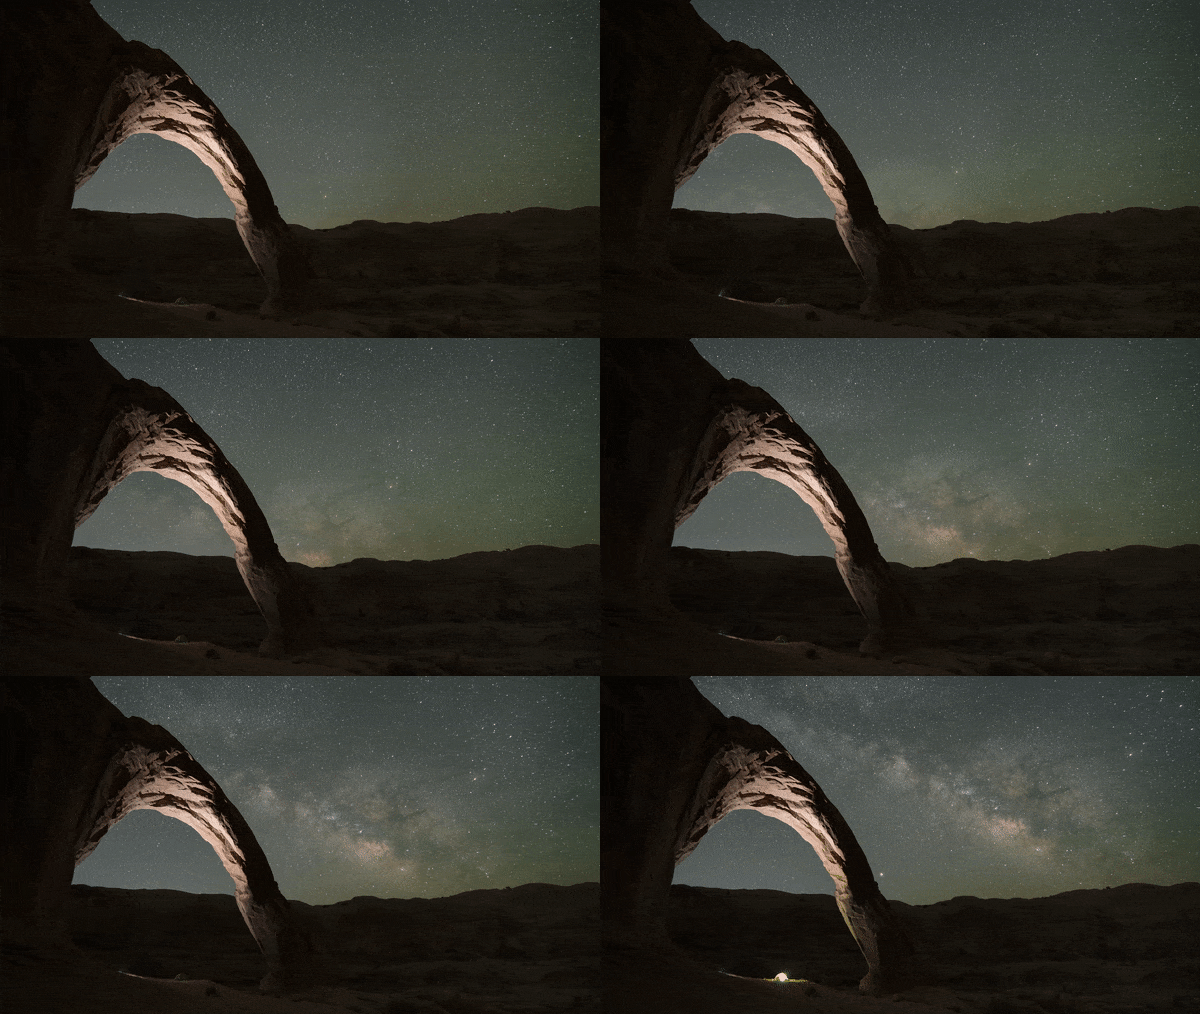
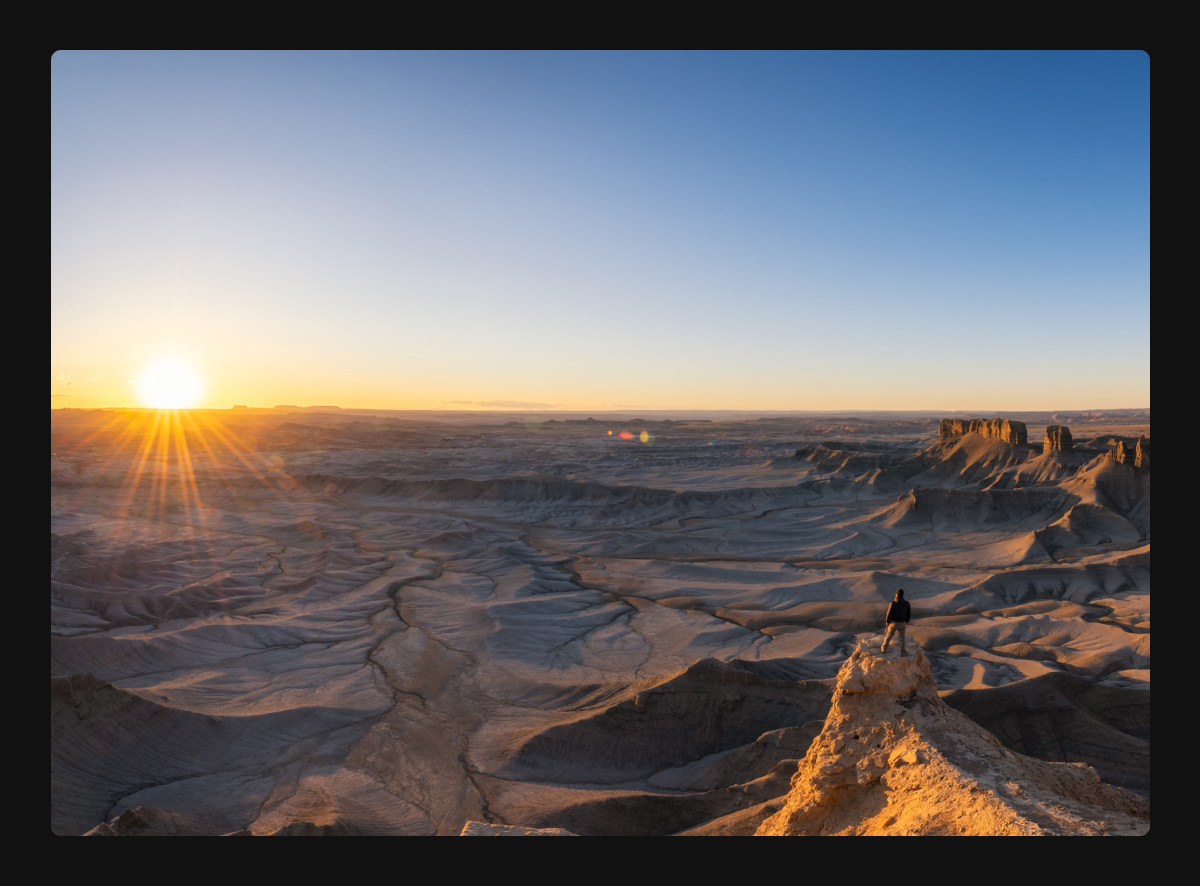
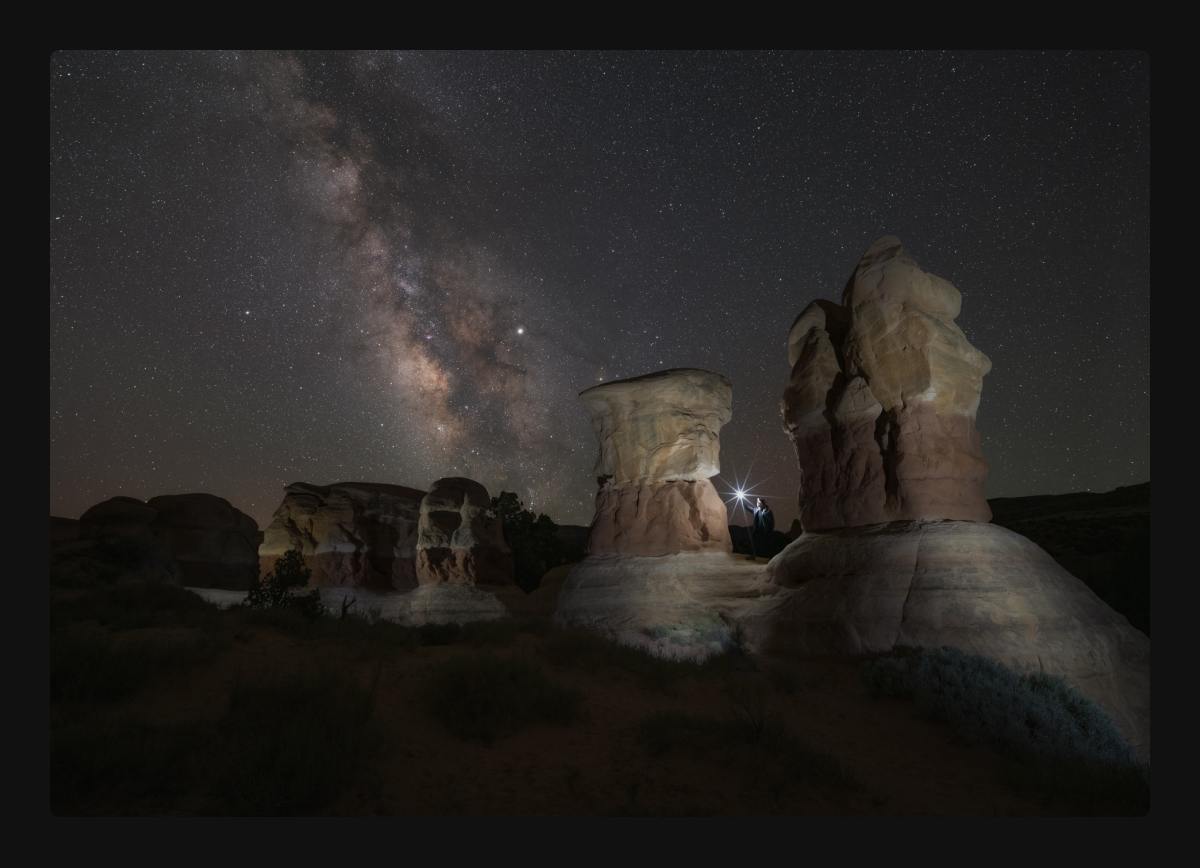
Today’s blog post is a bit different than usual – we’ve interviewed the truly outstanding timelapse photographer and Unleashed user, Michael Ver Sprill, also known as Milky Way Mike. In this blog post you’ll learn about his journey to becoming a photographer and his tips for the best timelapses, from planning to shooting.

Michael Ver Sprill Headhsot

Quickly introduce yourself: Name, where do you live, favorite photographer, what camera do you use, what kind of photography do you like?

First and foremost, I would like to say thank you for this opportunity and allowing me to test out this fantastic piece of gear that Foolography has developed. My name is Michael Ver Sprill and I currently reside in North Brunswick, New Jersey in the USA. I follow a lot of photographers and it’s extremely hard to pick a favorite. As a landscape photography lover, I guess I would have to say that Max Rive is up there on my list of favorites. A few months back I recently traded in my Nikon DSLRs for the Nikon mirrorless system. So my main camera for still photography is my Nikon Z7 and I like to use the Z6 for time lapse work. As I started my journey to grow as a photographer I had dabbled with photographing just about everything from weddings, real estate, products, baptisms, birthday parties, newborns and portraits. This was all great for learning and gaining experience, but I naturally gravitated towards landscape and nightscape photography, since I loved to travel to the great outdoors.

What got you into night photography, specifically shooting the milky way?

About 8 or 9 years ago, I remember seeing an article which featured a picture of a Milky Way that had been photographed from a beach in New Jersey. Growing up in this state we are surrounded by light pollution from New York City and Philadelphia so we’ve kind of forgotten how beautiful the night sky can get when it is really dark. I got inspired from that article to give Milky Way photography a shot and I got hooked ever since. This obsession led to me travelling cross-country for the first time in my life so I could get a glimpse of some truly amazing dark skies out west, as well as photographing the unique landscapes we have all across America.

<Milkyway Timelapse by Michael Ver Sprill

How do you go about planning your shoots? How long does it take? When do you make a decision to go out?

I like to use Instagram and Pinterest to get inspiration for new locations which I add to my bucket list of places to photograph. Then typically I’ll check google earth so I can examine that location and see if it will work well as a Milky Way location. I’ll also use the app Photopills which allows me to check dates and times for when the Milky Way will be visible in that location during a New Moon phase when the sky is the darkest. Planning this out can take a few minutes to a few hours depending how complex it is to get to the location. Making the decision to go out is the hardest because of the weather. When I go out west it typically has less humidity and is very dry, so clear skies are more frequent compared to where I live in a coastal state. So usually my eyes are glued to the weather channel waiting for clear or mostly clear nights to become available and that will dictate my decision to go out.

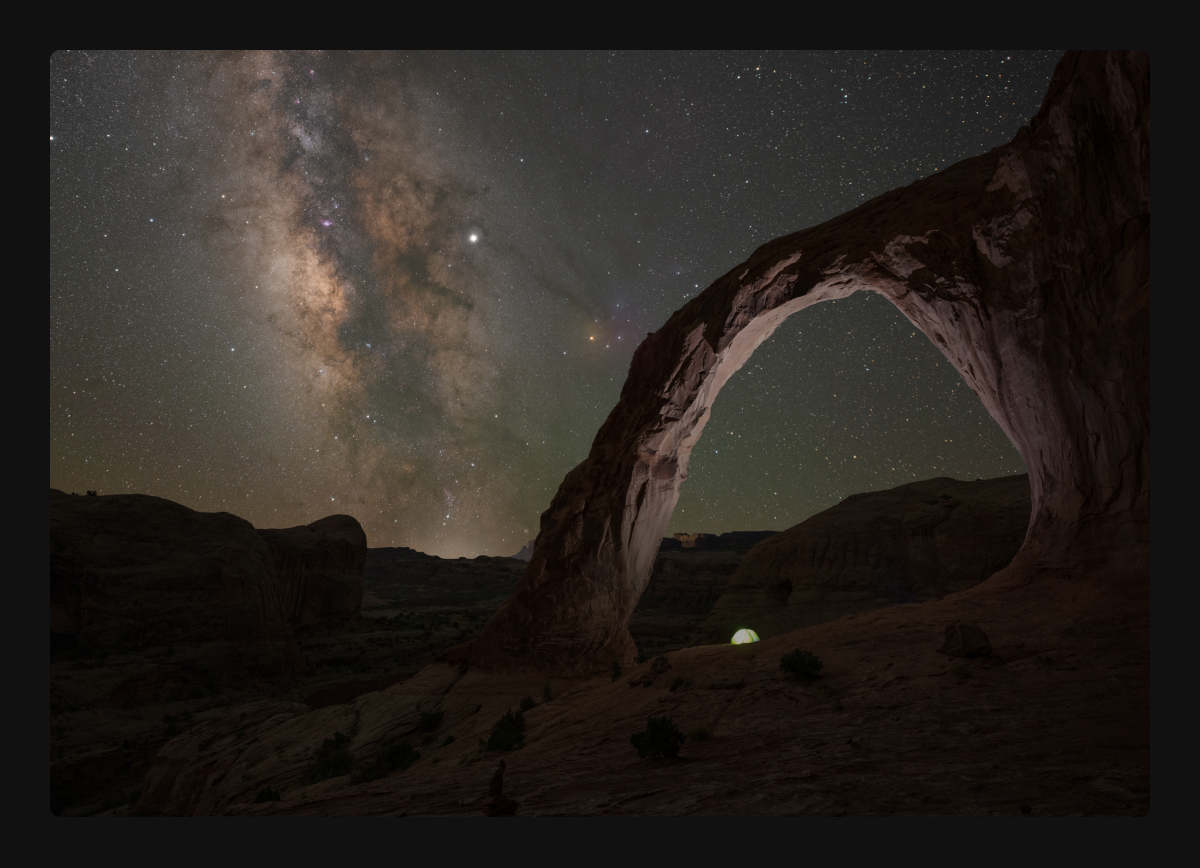
Photo by Michael Ver Sprill

What camera accessories are essential and what are nice add-ons (for every hobby photographer and night photographers)?

As a landscape and night photographer, a tripod and remote trigger is an essential part of gear that I need to make my photos possible. Typically I am taking photos during golden hour, blue hour and at night, so I need to keep the camera very still as I take long exposures with the help of a remote trigger like Unleashed. Great add-ons would be ND or Graduated filters which allow you to get creative with your long exposures especially during sunrises and sunsets. Another great add-on that comes in handy for me is a Nodal Slider which allows you to pivot from the camera’s lens instead of the camera’s base. This helps prevent parallax when doing panoramas both during the day and at night when doing Milky Way Panoramas.

How do you get the most out of your (night) long exposures? Any tips?

Since we often have to push our ISO when photographing at night, a process called stacking has become extremely helpful with long exposures and Milky Way photography. There are programs like Sequator (for PC) and Starry Landscape Stacker (for Apple) which help track the stars and stack your night photos which essentially reduces the noise by averaging the photos together. I have numerous tutorial videos on Youtube which explain this in more detail to help new night photographers. I also recommend a fast wide angle lens to allow you to gather in more light. One of my new favorite lenses is a 20mm 1.8 prime which is extremely sharp, gathers in a ton of light and perfectly wide for landscape or nightscape photography.

Photo by Michael Ver Sprill

What compositional tips do you have for making your timelapses more interesting?

I’ve found that the most important thing with time lapse photography is not necessarily the composition, but actually having elements that show movement. Typically cloudy sunrises and sunsets make for great time lapses. If the sky is clear, then maybe you want to show the movement of shadows drifting across a landscape. It’s all about showing the viewer the movement that happens during a span of time. Now typically when I set up a composition during a timelapse I usually follow the rule of thirds. I tend to keep ⅔ of the composition on the most interesting part of the scene that shows movement with ⅓ on the less interesting part. So for example with a Milky Way time lapse I will tend to keep ⅔ of the sky with ⅓ foreground.

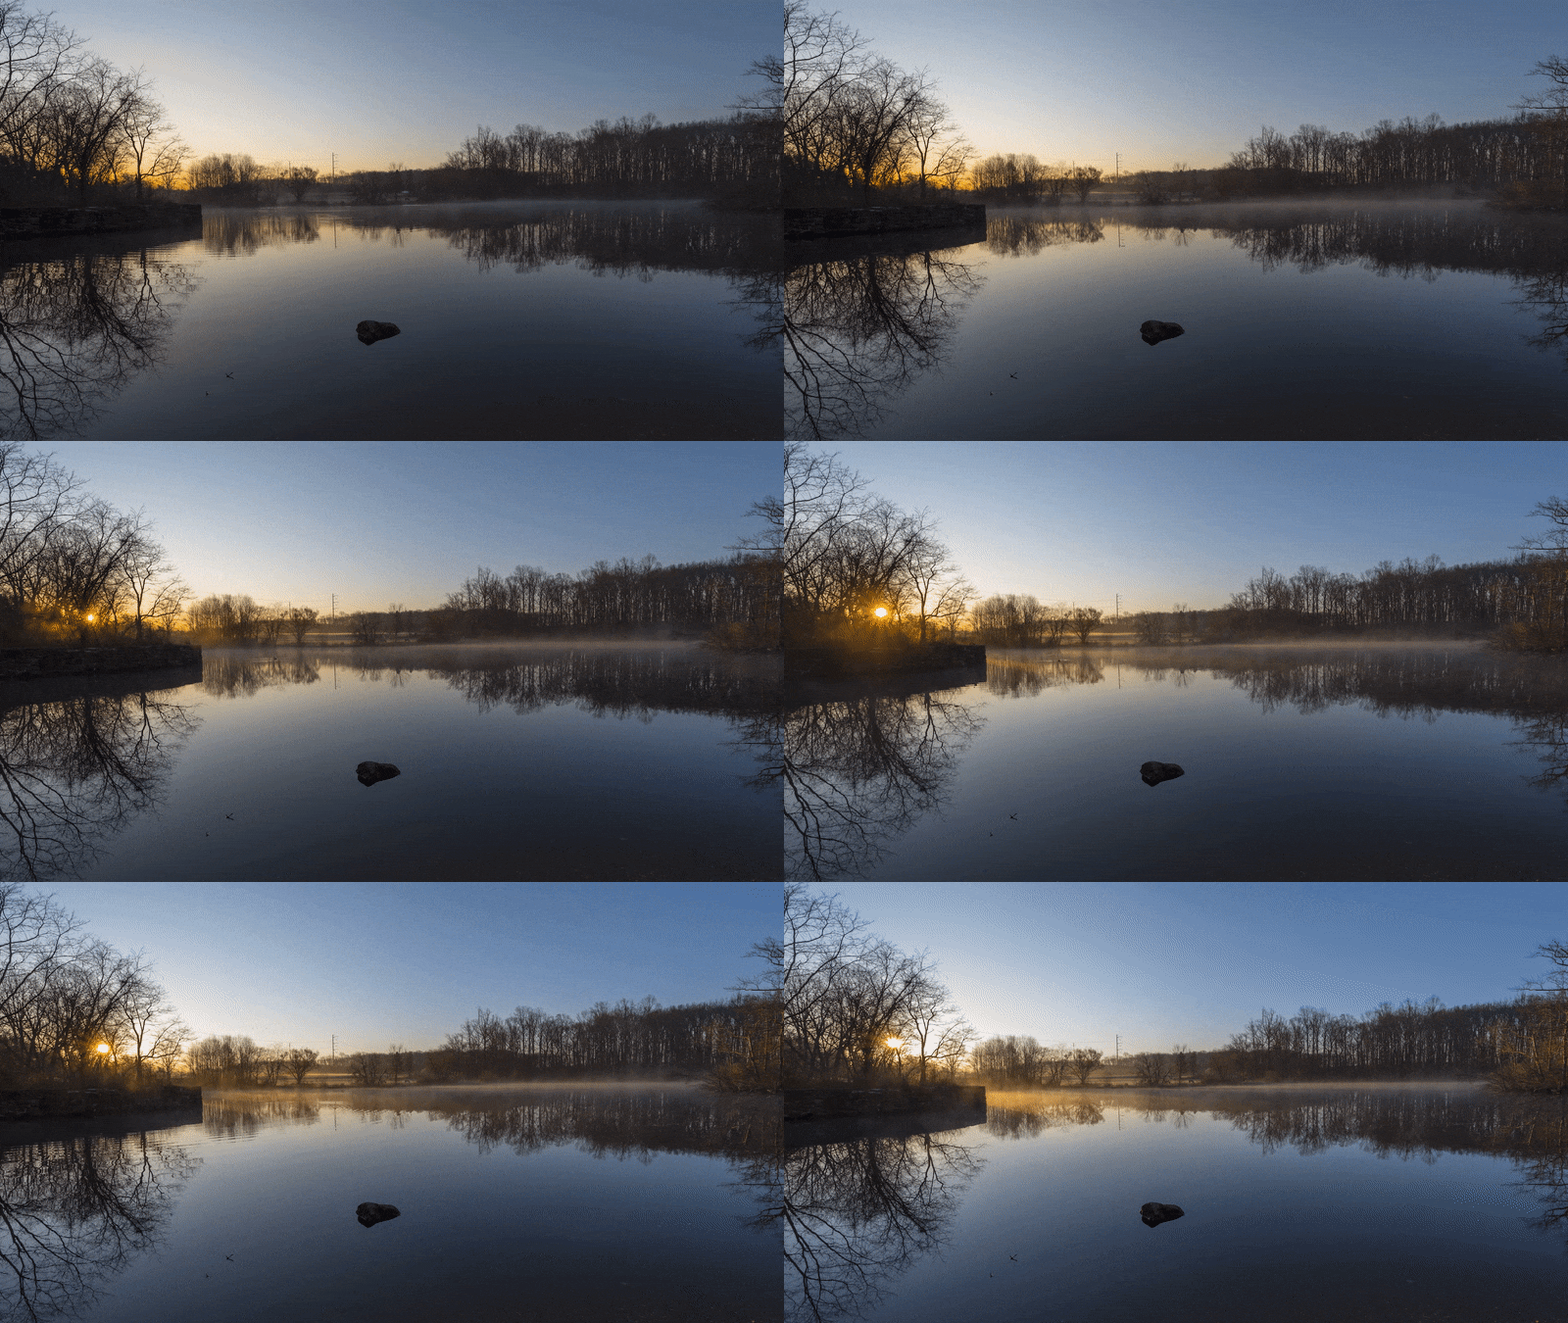
Sunrise Timelapse by Michael Ver Sprill

What photography projects do you have in mind to do next?

I’m about to head up to Acadia National Park in Maine to capture a Milky Way photo from a location that I believe has not been done before. I’m hoping to document that trip in an upcoming vlog for people to see the behind the scenes footage and my editing process.

We’d like to thank Mike for sharing his insights with us and being part of our Foolography Ambassadors team. Be sure to check out his instagram and website to see more of his amazing work!

Posted on Leave a comment

How to Make a Timelapse With The Unleashed

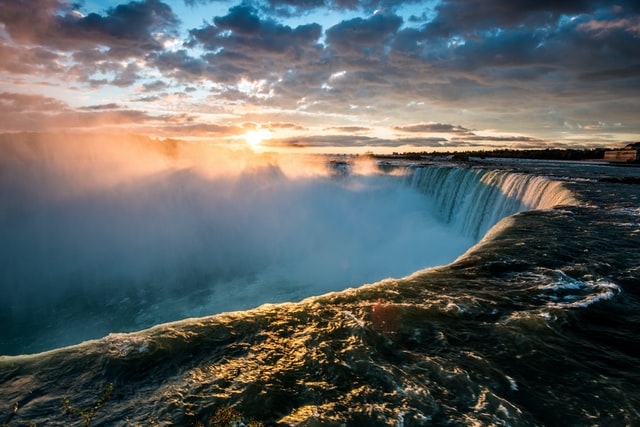
Niagara Falls Sunset

One of the Unleashed’s greatest features is timelapse. In this article we want to introduce the concept of timelapses and how to create a timelapse with the Unleashed. Let us try to define the word timelapse in a few sentences:

“A timelapse is a sequence of photos taken over time. The photos are mostly taken at a certain frequency with a set interval time in between each photo. In the final result, the photo sequence is shown at a normal video frame rate (24-30 fps: frames per second), so time seems to move faster than usual, thus the word time lapse.”


Of course, you can also film something and then speed up the scene in post to have a similar effect. However, when creating a timelapse by taking interval shots, you have the freedom to choose the final frames per second rate. Additionally, you have every frame as a high quality photo so you can even create 8k time-lapse videos. And probably one of the biggest advantages – you don’t have to shoot an actual multi-hour long video with your camera.

To shoot a timelapse you can either take a photo every couple of seconds by hand (which we don’t recommend ;) ) or use an intervalometer. An intervalometer is basically a programmable camera trigger that takes the photos for you. There are different solutions out there serving this purpose, starting at under 100 EUR up to a couple of hundred Euros/Dollars. In the end, it depends on what you want to achieve.

With the intervalometer you can set the interval (after how many seconds the next photo should be taken) and how long you want to be shooting. As an example:

You want to take a timelapse of clouds passing by a mountain top. So you set up your camera with the intervalometer on a tripod and take a photo every 10 seconds for the next 3 hours. At the end you will have around 1080 photos. Combined in a video with a frame rate of 30 frames per seconds, you will have a video clip length of 36 seconds (1080/30 = 36). As you can see, there’s a little bit of math involved if you have a certain idea of how long the clip should be at the end.

Creating time lapses with the Unleashed

We think timelapses are fantastic things to capture and can add great value to your b-roll and videos. So we’re especially proud of the well-designed timelapse feature in the Unleashed. Apart from automatically showing you the expected clip length and amount of photos you will take (especially useful to see if your SD card still has enough space), the Unleashed app also gives you the option to do auto-ramped timelapses to capture day-to-night or night-to-day transitions where the camera settings change over time. This means you don’t have to manually adjust the exposure to match the changing light conditions. Check out our support video on the Holy Grail timelapse feature.

If you want to start with a simple timelapse, you can also check our FAQ and video on that feature. Nevertheless, we’d like to give a brief overview here, as well.

How-to

  1. When you open the app it is set to Photo mode. Click the 3 yellow lines in the bottom left corner to get to the menu and select Timelapse.
  2. The top area of the screen shows a summary of the camera’s current settings. You can change those settings by tapping on that area to see the detailed camera settings.
  3. In the center area you can set the interval i.e. in what frequency a photo should be taken, and the duration i.e. for how long the camera should take photos.
  4. Below that, the app calculates how many photos will be taken and what the expected clip length will be at 30 frames per second.
  5. In the top right corner of the screen, the app shows tips, warnings and errors. While you’ll be able to start a timelapse with tips and warnings, errors will grey out the start button. For example, the app will warn you when your SD card doesn’t have enough space for all the photos to be taken during the timelapse.
  6. To start, just tap the button at the bottom center. Once it’s started, the smartphone does not need to remain connected or in range for the Unleashed to finish the timelapse.

Once all photos are captured, you can either directly import them into a video editing software to create the video, give them a quick brush in lightroom, or get the most out of the timelapse by using a software like LRTimelapse to smooth the pictures transitions perfectly.

Feel free to share this blog post or comment below if you’ve found it helpful. Stay tuned as we’re going to give you more professional insights on timelapses with the help of one of our brand ambassadors and expert timelapse photographer.

Posted on Leave a comment

Geotagging – What it is and how it can help you

picture of a map

Photos let you capture the most beautiful moments in life. Geotagging is a feature that can make reliving those moments even easier. Geotagging was also the basis of our company. It was the first feature that the Unleashed supported before it developed into more of a camera remote. But as our community grows we want to take new users along on the journey and share some insights on geotagging. What is geotagging? Why should you geotag photos? Read on to learn more about how geotagging can help you in your personal or professional photography.

What is geotagging?

While you might know geotagging from your smartphone, GPS is not a common feature in DSLRs yet. Geotagging means embedding the location data of where it was taken into the metadata of the photo. This means that apart from camera settings like aperture, exposure and focal length, longitude, latitude and altitude coordinates are saved as well.

How to geotag photos

If you don’t have a camera with built-in GPS, don’t worry – there are other ways to add location data to your photos. You can geotag your photos using an external GPS device. Just set it to tracking mode and it will record your exact location and time you were there. Later the exact location data can be added to the photo depending on the time it was taken.

Of course we can’t go without mentioning that our Unleashed offers an effortless geotagging solution, as well. The Unleashed geotags photos the moment you press the shutter: direct geotagging. Using the GPS of the phone it is connected to, it embeds the location data to the metadata directly, saving you plenty of time and effort post-shoot. The Unleashed supports Canon and Nikon cameras at the moment, but we are planning to add more camera brands to that list in the future.

For those who prefer an external GPS over a smartphone, we’ve made it possible to use the Unleashed with some GPS receivers. Read up on that in this blog post.

GPS receivers: Holux, QStarz, Transystem

Why geotag your photos?

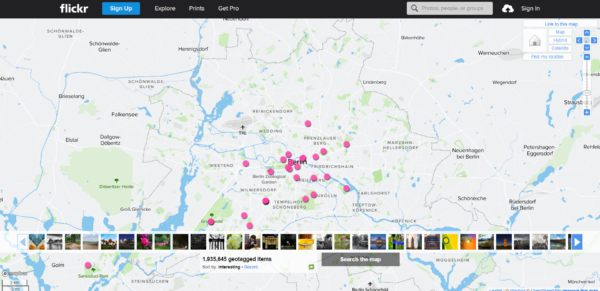
Adding GPS location data to your photos has a huge range of use cases. For one, it can help you organize your photo catalogue by location, other than only by time. This can be extremely helpful: imagine you are looking for a specific shot of a location, but can’t remember exactly when you were there. Many applications, like Lightroom and Flickr, now have interactive maps that show your geotagged photos on a world map. So you can easily find your vacation pictures without having to dig through countless folders or scroll through timelines. Geotagging is also used for professional purposes. It can be used for logging the location of rare wild animals, archaeological sites, location scouting for shoots and filming, and much more.

Geotagging Map Flickr

One word of caution if you post a lot of nature shots to social media: you might not want to publicly tag the exact location of every photo. This could lead to those places being overrun and natural ecosystems being damaged. Best to keep some places secret, so they can stay as beautiful as they are.

We hope this helped answer any questions you had concerning geotagging. So grab your camera and try geotagging on your next outings and see how it can help simplify your life. If you found this article helpful, feel free to share it on social media!

Posted on Leave a comment

How to Take a Long Exposure With The Unleashed

Upon popular demand, we introduced the Long Exposure feature last summer. The Unleashed offers many technical possibilities, so it was a logical step to implement this. Thus the Unleashed replaces another essential part of a classic intervalometer – in addition to interval photography, it also enables bulb photography without touching the camera. In addition, the Unleashed also offers the possibility to define the length of the photo as desired – just press the shutter once and the rest happens automatically. More on this below. This replaced the Unleashed’s flash compensation feature, which we noticed most users weren’t using much, and made room for the Long Exposure feature. Here’s an overview of how to take stellar long exposures with your Unleashed!

Definition of long exposure photography

In case you’re new to the topic, here is a quick definition: a long exposure is any photo taken with a shutter speed much longer than usual, about 1 second and longer. This allows you to photograph very dark subjects like night skies and capture intentional motion blur in photos. The long exposure time smooths out the movement of water, clouds, cars, etc. creating very smooth, flowing effects.


Using the Unleashed App for long exposures

The first thing you need to know about long exposures are the three ways you can create one. For the first one you simply need to set your exposure time to bulb, making sure you are in manual (M) mode, and hold down the shutter button for as long as you want the exposure to be. This works well up until a certain point, but imagine holding it down for minutes, let alone hours.

Here is where the Long Exposure Duration setting comes in: it allows you to select a precise time in 1/3rd stop increments for up to 4.6 hours. Or choose time mode where you press once to open and once more to close the shutter. In both modes the Unleashed will keep the trigger pressed, so you no longer have to hold it manually. Of course you can also cancel at an earlier time. As usual, the Unleashed keeps shooting even when you close the app, or go out of range with your phone – no need to stay connected or keep the app on!


The long exposure feature is perfect for night photography, star trails, light painting and working with ND filters. For more inspiration and in-depth information on long exposures, check out our blog article about it here.

We hope this helps you better understand and use the Long Exposure function of your Unleashed. Make sure to tag us if you use it – we look forward to your shots!